
Last updated October 8, 2026
Free roof inspection with deck photos before we talk money - GAF and Owens Corning certified installation
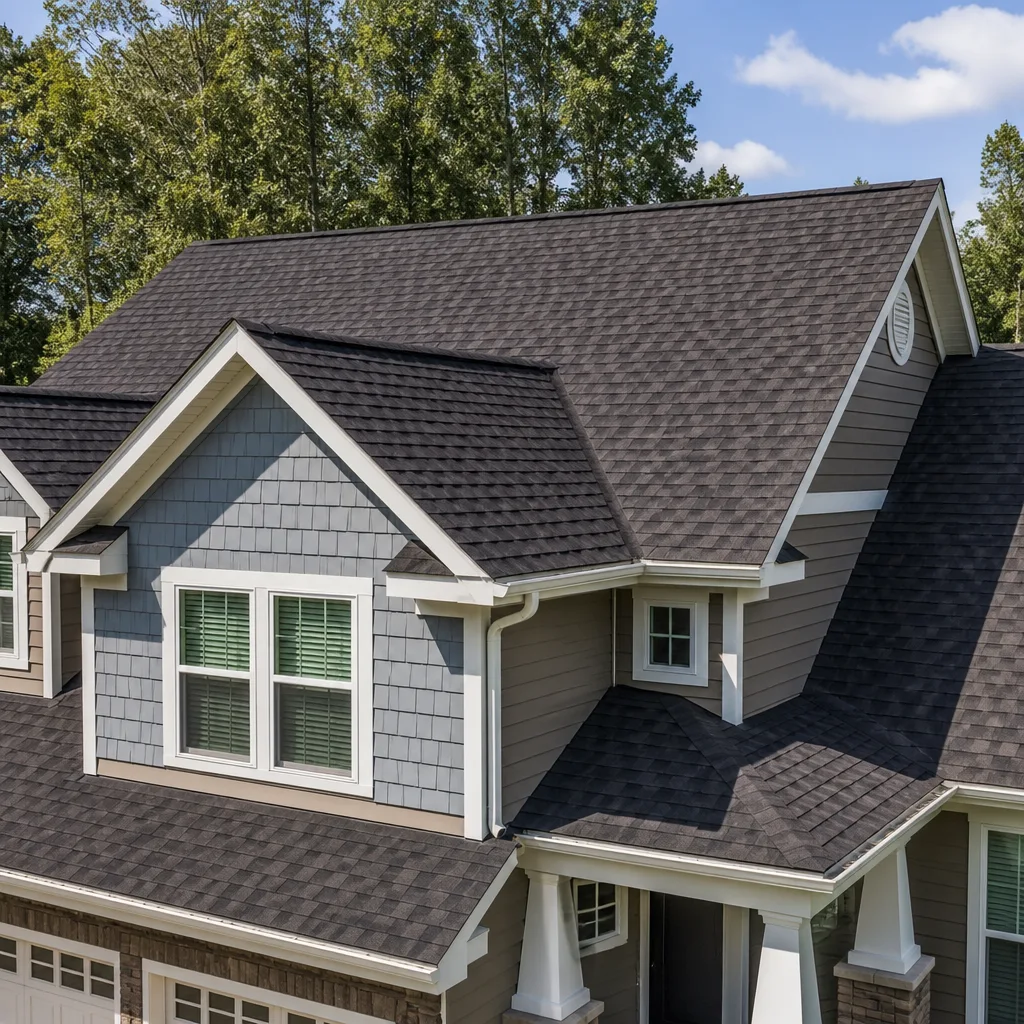
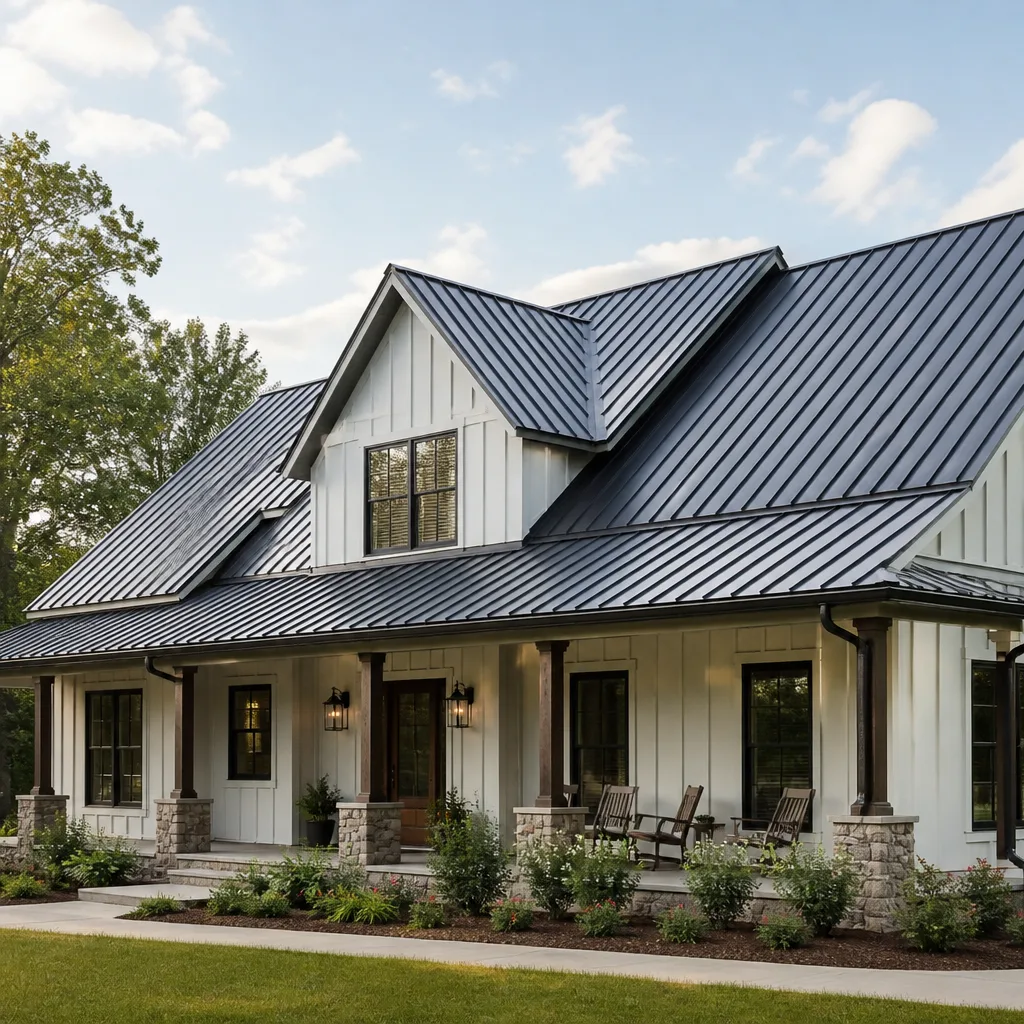
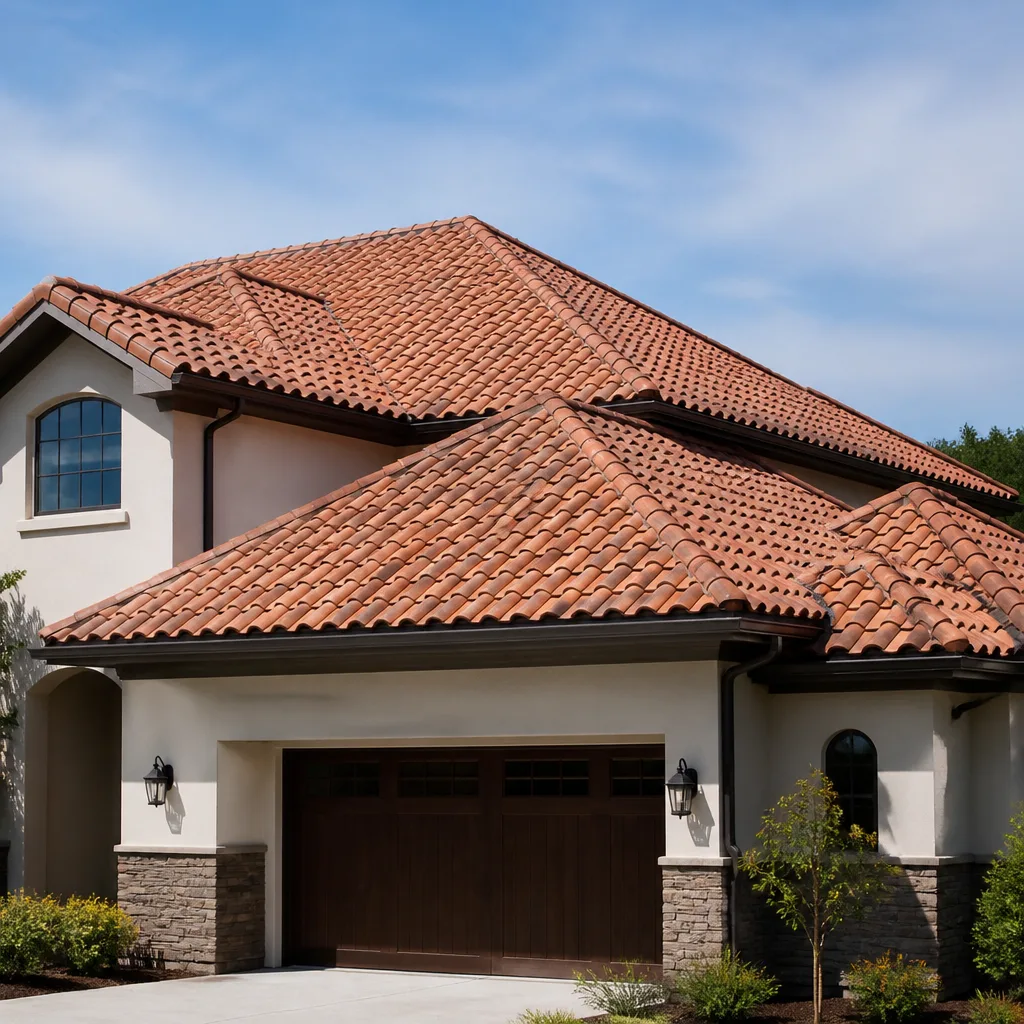
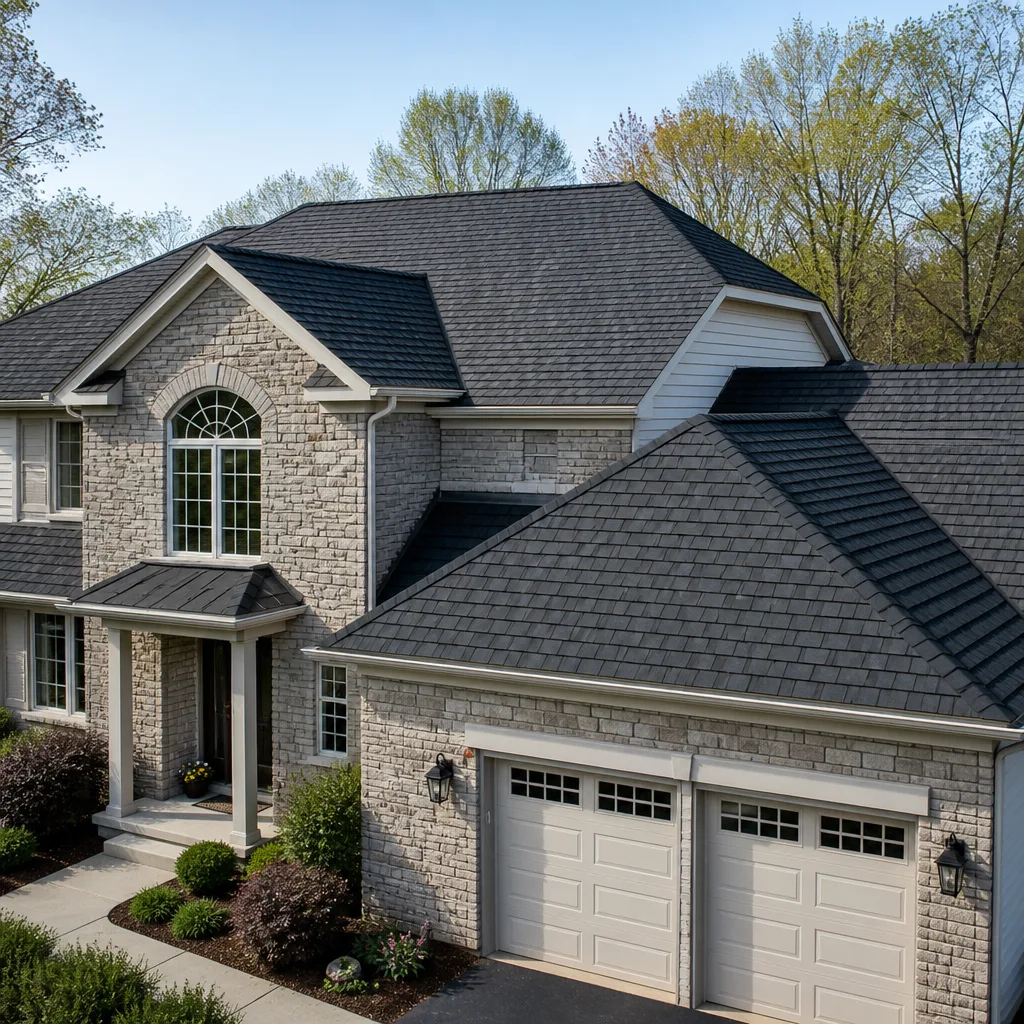
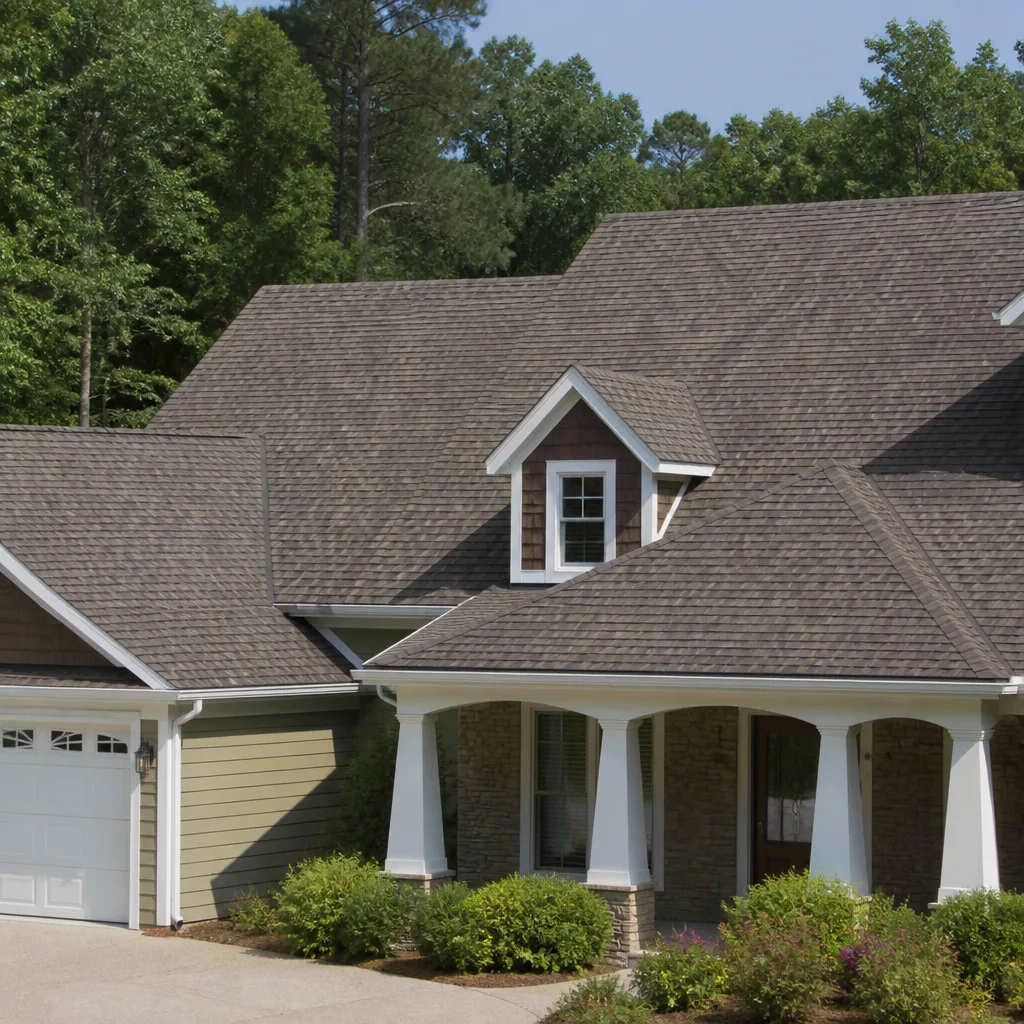
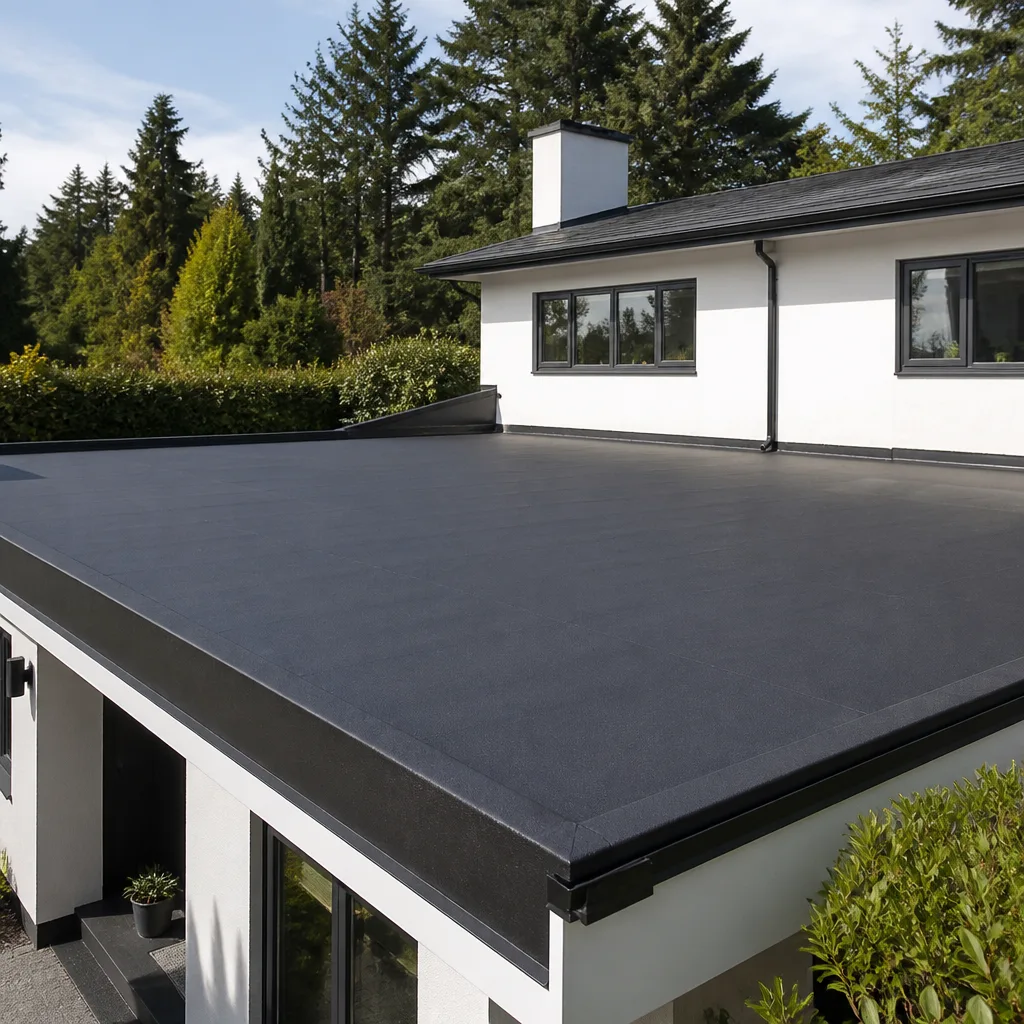
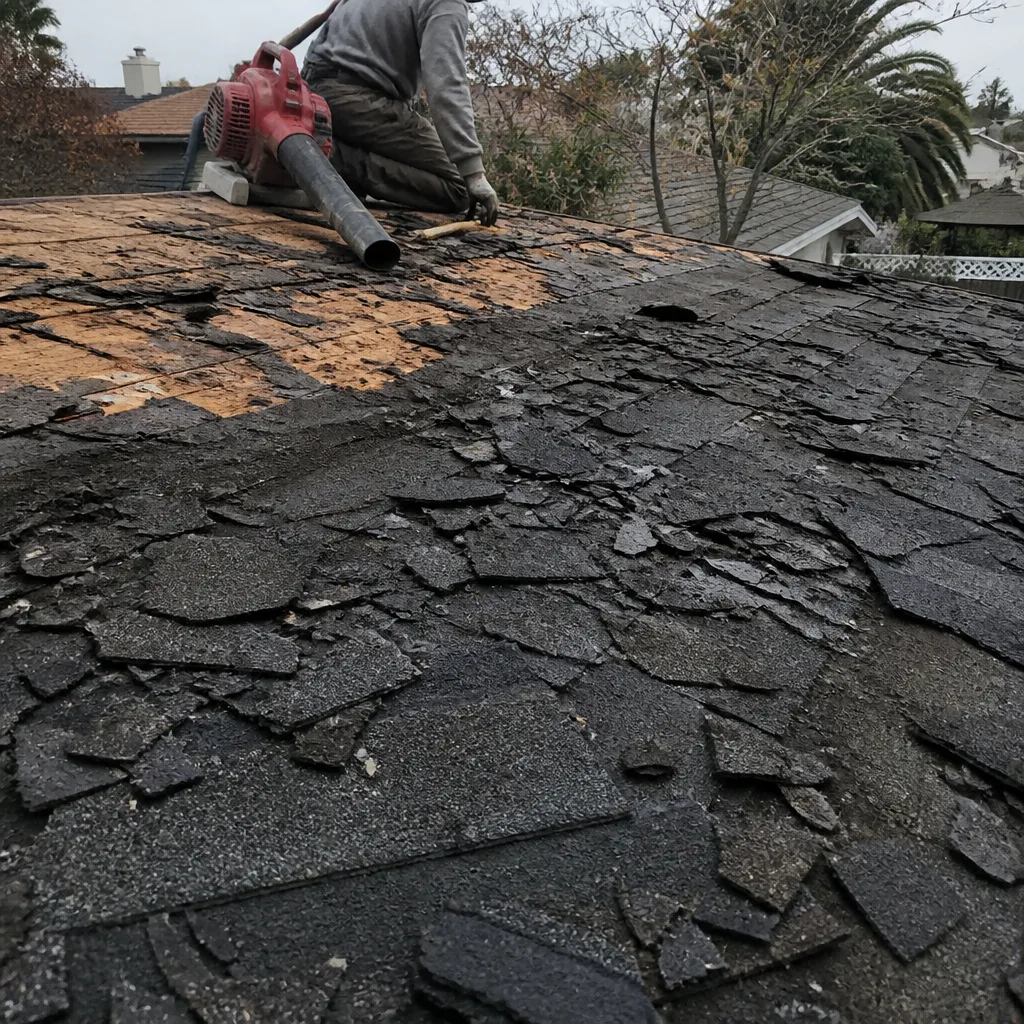 Before
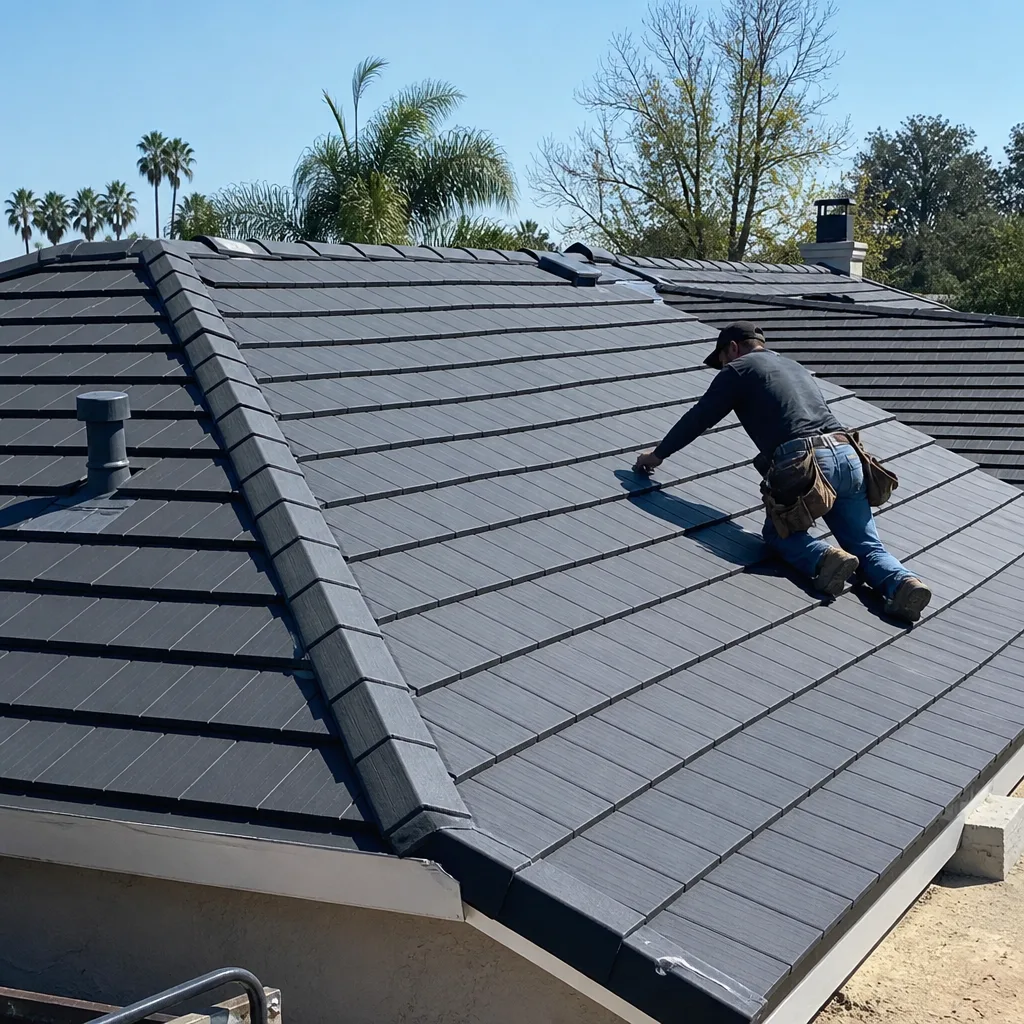 After
After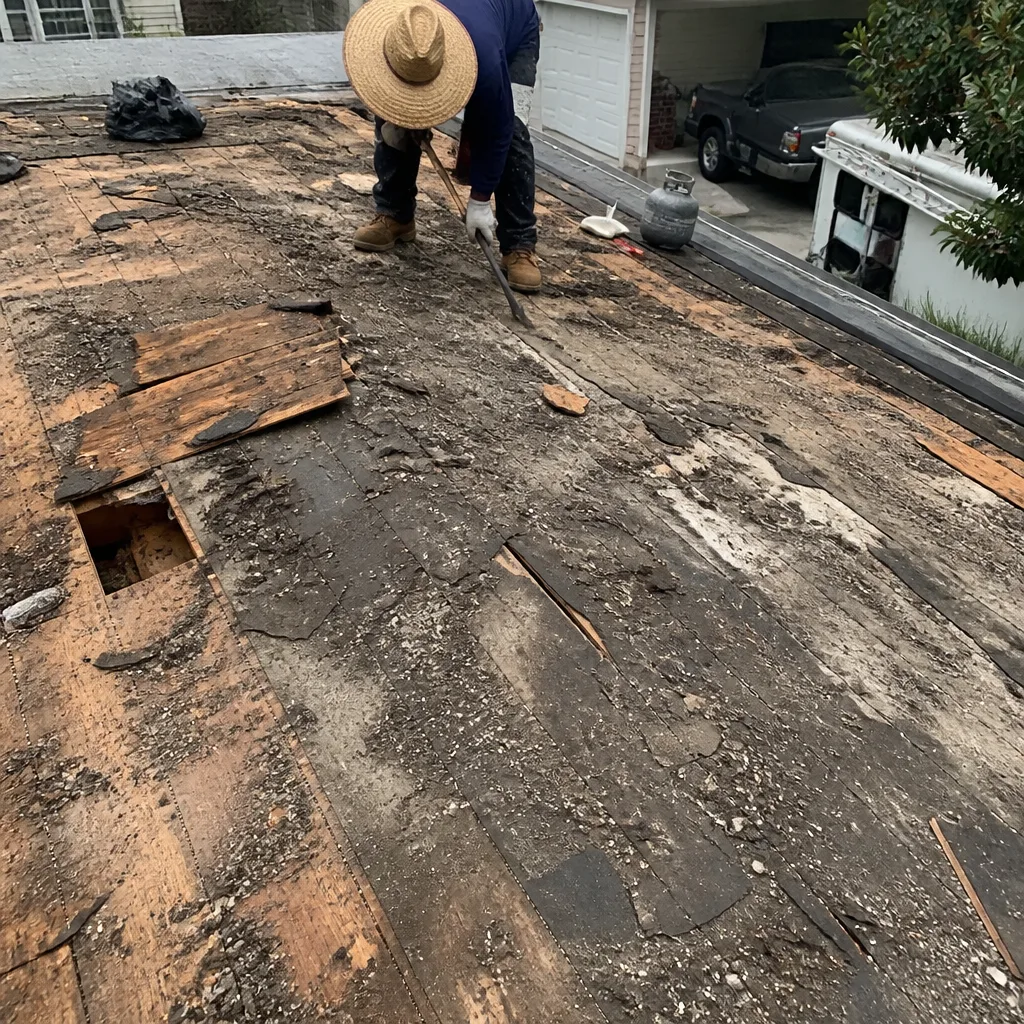 Before
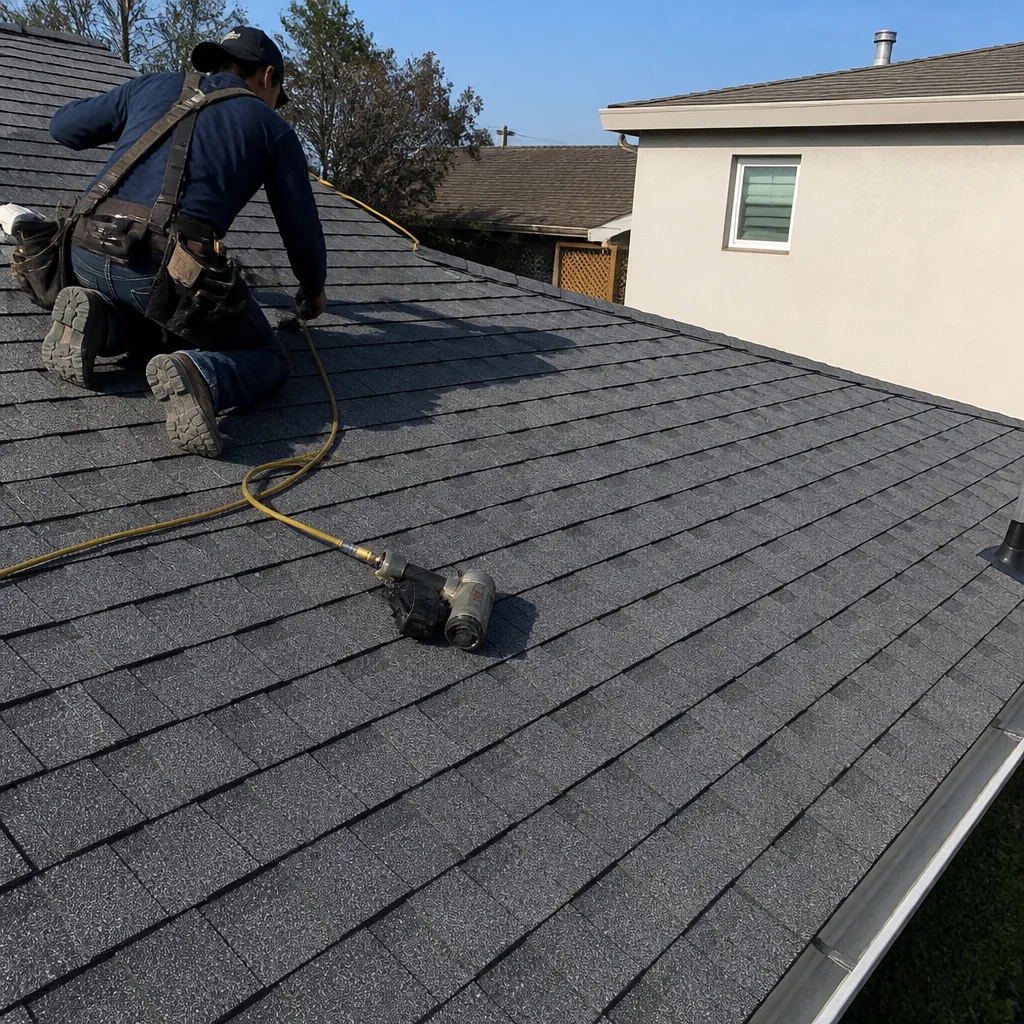 After
After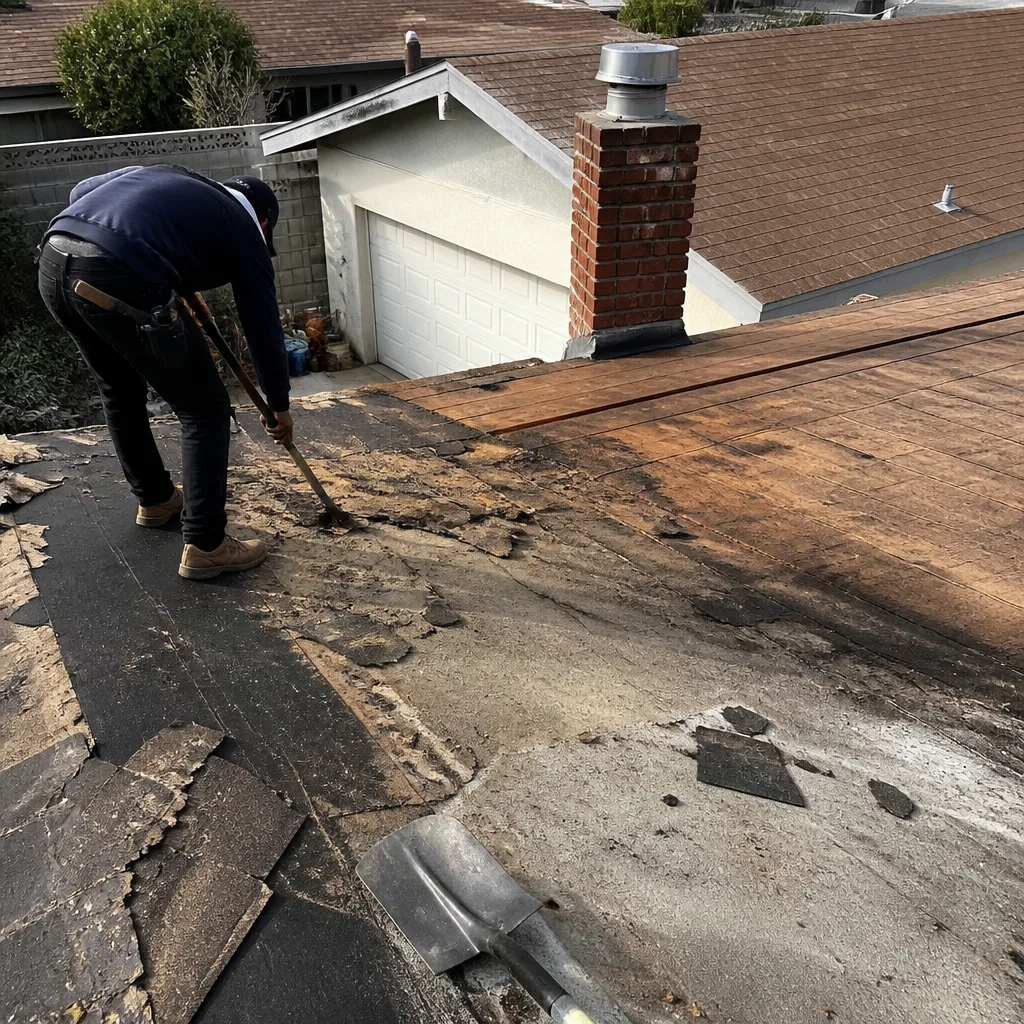 Before
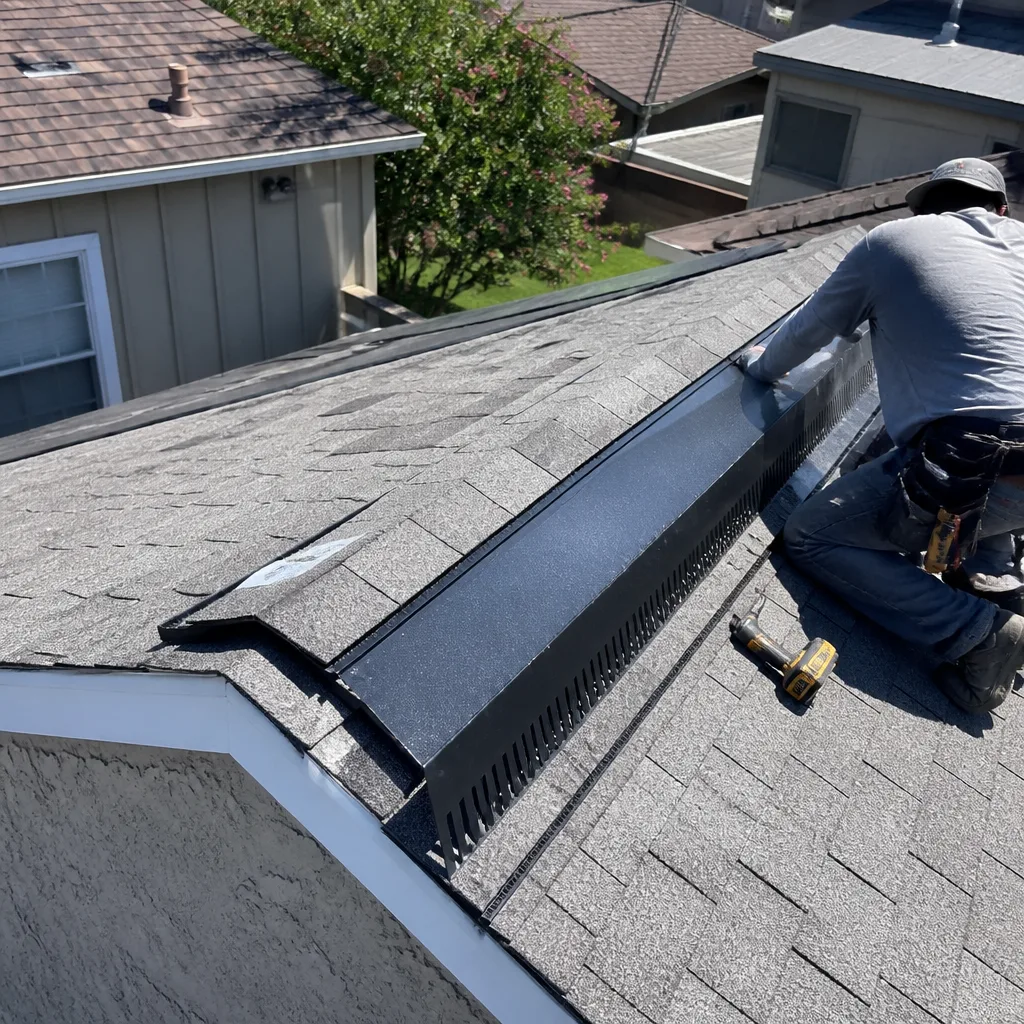 After
AfterDIY vs Professional Roof Replacement: What’s Safe to Do Yourself
Homeowners who DIY a roof replacement in Los Angeles without a permit can be required to tear off the finished work for inspection, and their homeowner’s insurance may deny a future claim if unpermitted work contributed to the damage. That’s the uncomfortable truth most DIY roofing guides skip. But the honest answer to “can I replace my own roof” isn’t a flat no. It’s a specific line: certain prep and cleanup tasks are genuinely safe to do yourself and can save real money, while the structural work carries risks that most people don’t see until it’s too late. This guide walks that line, task by task, so you know exactly where DIY ends and where hiring a professional for your Roof Replacement becomes the financially smart move.
Quick Answer
A full DIY vs Professional Roofing Company: What’s Safe to Do Yourself comparison rarely favors the DIY route: the fall hazard, the Los Angeles permit and inspection requirements, and the cost of doing flashing or underlayment wrong make it a poor trade against the labor savings. What IS safe to do yourself: attic insulation checks above the deck, ground-level debris removal, gutter cleaning, and documenting your roof’s condition with photos. Leave everything on the roof surface itself to a licensed contractor.
Table of Contents
- What’s Actually Safe to Do Yourself
- What’s Not Safe: The Real Risks of Residential Roof Work
- The Permit Reality in Los Angeles Nobody Mentions
- Where DIY Fails: Flashing and Underlayment Lapping
- The Documentation Gap: Three Papers a DIY Job Can’t Produce
- Cost Comparison: DIY vs Professional, Line by Line
- Step-by-Step: What You Can Safely Do This Weekend
What’s Actually Safe to Do Yourself
There’s a category of roof-related work that never requires you to set foot on the roof surface. These tasks are genuinely safe, require no permit, and can save you a few hundred dollars on a professional replacement by doing prep work the crew would otherwise bill for.
Attic insulation above the deck. If you’re replacing the roof anyway, adding or refreshing insulation from inside the attic is a legitimate DIY project. You’re working on a flat attic floor, not a sloped roof surface. In Los Angeles, where summer attic temperatures routinely reach 140°F, upgrading from R-19 to R-38 makes a measurable difference in cooling costs. Wear gloves, a dust mask, and long sleeves. This task carries no fall risk and no structural consequence if you do it imperfectly.
Gutter cleaning and downspout clearing. Clogged gutters are one of the most common contributors to roof edge damage in Los Angeles, especially in neighborhoods with mature trees like Hancock Park or Sherman Oaks. You can clear gutters from a ladder or, better, with a wet-dry vacuum attachment from the ground. The key rule: keep your body between the ladder rails, never lean out past the side, and don’t carry a full bucket while climbing. If the gutter is more than one story up, hire it out.
Ground-level debris removal. After a wind event or just before a scheduled replacement, clearing leaves, palm fronds, and tennis balls from the yard, driveway, and around the downspouts is simple, safe work. It also matters more than people think: debris on the ground is what gets tracked into the house during a tear-off. Getting it out of the way before the crew arrives is the kind of small prep that makes the whole job cleaner.
Documentation photography. Before anyone touches your roof, photograph it. Take pictures from the ground at all four corners, plus close-ups of flashing, vents, and any visible cracking or lifting. Date-stamp everything. This documentation is valuable whether you go DIY or hire a pro: it’s your before-and-after record, it helps you get accurate phone estimates, and it’s evidence of pre-existing condition if something comes up later with insurance. You can do all of this with a phone from the ground.
What’s Not Safe: The Real Risks of Residential Roof Work
Roofing is on a different risk level than most home improvement projects, and the numbers back it up, as we explore in our DIY vs Professional Roofing: The Los Angeles Homeowner’s Decision Guide. Falls consistently sit at or near the top of all construction-related fatalities in the United States. In Los Angeles, the risk compounds because most roof replacements happen between June and October, when surface temperatures on asphalt shingles can exceed 160°F.
Here’s what most DIY guides don’t say plainly:
- Fall statistics. Roofing has one of the highest fatality rates of any trade. A fall from a single-story roof onto concrete or hardscape can be fatal or permanently disabling. It’s not the height; it’s the landing surface and the angle.
- Heat exposure. Los Angeles summer days routinely hit 90°F-plus. On a roof surface, that’s 140°F to 160°F underfoot. Heat exhaustion sets in fast, and the judgment errors that come with it are exactly what cause falls and dropped tools.
- Tile and shingle fragility. Clay tile roofs, common across Los Angeles from the Valley to the Westside, are easy to crack if you step in the wrong place. A cracked tile you don’t notice becomes a leak you discover months later. Asphalt shingles tear when walked on improperly or when it’s too hot.
- Tool and material handling. Bundles of shingles weigh 70 to 80 pounds each. Carrying one up a ladder is a two-person job for most people, and doing it wrong puts you and anyone below at risk.
A real expert always flags this clearly: the danger isn’t just falling off the edge. It’s the combination of heat, fragile material, heavy loads, and slope. That’s why we tell homeowners the same thing we tell our own crew: if you wouldn’t do it at ground level in 100-degree heat, don’t do it on a roof.
The Permit Reality in Los Angeles Nobody Mentions
Here’s the part most DIY roof replacement guides conveniently skip: in Los Angeles, you can’t just re-roof your house and call it done. The Los Angeles Department of Building and Safety (LADBS) requires a permit for roof replacement, period. That applies whether a licensed contractor does the work or you do it yourself.
If you want to act as your own contractor on a DIY replacement, you go through LADBS’s owner-builder process. That means:
- You file the permit application yourself, in person or online, with drawings or specifications for the roofing system.
- You sign an owner-builder declaration acknowledging you’re responsible for the work and for hiring any subcontractors.
- You schedule and pass the required inspections at the appropriate stages, including the underlayment inspection before anything gets covered.
- If the inspector finds code violations, you fix them and schedule a re-inspection. Every re-inspection is another day off work and another trip to the roof.
The consequences of skipping the permit are not hypothetical. LADBS can issue a stop-work order, and the city can require you to remove finished roofing to expose the underlayment and deck for inspection. That’s a full tear-off of work you already paid for, plus the cost to redo it. On the insurance side, if a future leak causes damage and the insurer links it to unpermitted work, they can deny the claim. In Los Angeles, where water damage claims are already scrutinized closely, that’s a real financial exposure.
We see this play out more often than people think. A homeowner spends three weekends tearing off and re-shingling, never pulls a permit, sells the house a few years later, and the title report flags unpermitted work. Now it’s a disclosure problem and a price negotiation problem. The permit isn’t bureaucracy; it’s documentation.
Where DIY Fails: Flashing and Underlayment Lapping
Roofs fail at transitions. The open field of shingles is actually the forgiving part. What determines whether water gets in is what happens at the edges, the valleys, the penetrations, and the laps.
Flashing is the metal material that directs water away from the places where the roof meets something else: chimneys, skylights, vent pipes, walls. Flashing has to be cut, bent, lapped, and fastened in a specific sequence, with each layer overlapping the one below it so that water always drains down and out, never in. Get the sequence wrong, and you’ve built a funnel into your roof deck. We regularly see DIY flashing jobs around chimneys in older Los Angeles homes where the step flashing is bent at the wrong angle or the counterflashing isn’t tucked into the mortar joint. The leak doesn’t show up for months, then it’s inside the wall cavity.
Underlayment lapping is even less forgiving. The underlayment is the water-resistant layer between the roof deck and the shingles. It has to be lapped correctly, starting at the eave and working up, so every horizontal seam sheds water like shingles do. The lap direction, the lap distance, the fastener spacing, and the treatment at valleys all matter. If the underlayment is installed backwards or the laps are too short, the whole roof system is compromised before the first shingle goes down. And here’s the cruel part: the underlayment inspection is exactly what the LADBS inspector checks before the roof can be covered. If you did it wrong, you’re ripping it off and starting the material order over.
These two elements are where DIY errors concentrate because they’re the least intuitive parts of the job. Most people can figure out how to nail a shingle in a straight line. Almost nobody gets the flashing sequence right on the first try without training.
The Documentation Gap: Three Papers a DIY Job Can’t Produce
A licensed roof replacement generates three pieces of paper that a DIY job simply cannot. These three papers are worth more than most homeowners calculate when they’re making the DIY-vs-hire decision.
The permit with passed inspections. This is the piece that proves the work was done to code. It lives in the LADBS file and follows the property. When you sell the house, the permit history is part of the disclosure. A roof with a pulled permit and passed inspections is an asset at resale. A roof with no permit record is a liability.
The written warranty. A professional roof replacement typically carries a workmanship warranty from the contractor, on top of the material warranty from the manufacturer. At Birchbark Roofing, every replacement is covered by the Birchbark Roofing home 365-Day Done Right Promise: if the work isn’t right, we make it right. A DIY job has no workmanship warranty because there’s no one to call when something fails. You’re the warranty department, and the labor is free but the time isn’t.
The lien waiver. When a licensed contractor finishes a job, you get a lien waiver, a legal document that releases your property from any claim by material suppliers or subcontractors. A DIY job can’t produce this because there’s no contractor of record. If you hire a handyman who’s not licensed and the lumberyard doesn’t get paid, the supplier can file a mechanics lien on your home. That’s a nightmare scenario that papers over the apparent savings.
These three documents are the structural difference between a roof that’s finished and a roof that’s protected.
Cost Comparison: DIY vs Professional, Line by Line
The math looks different when you include the full line items of each approach. Here’s a representative breakdown for a 1,800-square-foot single-story home in Los Angeles with asphalt shingles, based on what we see in the market. Actual prices vary by neighborhood, roofline complexity, and material choice, but the structure is consistent.
DIY roof replacement, typical line items:
- Shingles for 1,800 sq ft at $110-$160 per square (100 sq ft): $2,000-$2,900
- Underlayment, ridge cap, fasteners, flashing: $900-$1,500
- Dumpster rental and disposal fees: $600-$1,200
- Tool rental or purchase (nail gun, compressor, ladder, safety gear): $400-$900
- LADBS permit and inspection fees: $400-$700
- Potential re-inspection fees if something fails: $150-$300 per visit
- Your labor: unpaid, but measured in 2-4 weekends
Typical DIY total: $4,500-$7,500, plus your labor, plus the risk of redoing work.
Professional roof replacement, typical line items:
- All materials, delivered: $5,500-$9,000 for asphalt shingles on a simple roof
- Labor, including tear-off and haul-away: included in the bid
- Permit and inspection coordination: included in the bid
- Dumpster and disposal: included in the bid
- Workmanship warranty: included
- Lien waiver: included
Typical professional total: $8,000-$14,000, depending on materials and roof complexity.
The real gap is narrower than most people assume, especially once you factor in materials waste from cutting errors, the cost of a second dumpster if the first fills early, and the value of your own time. And that’s before considering the cost of a mistake.
In Los Angeles, where many homes use tile or higher-end materials, the math shifts further toward professional installation. Tile is less forgiving than asphalt, and the cost of replacing broken tiles from DIY foot traffic quickly erases any labor savings. We work with materials from Roof Replacement in Los Angeles manufacturers including GAF, CertainTeed, and Boral, and we’ve seen firsthand how the material choice changes the DIY risk calculation. Clay tile from Boral is beautiful and durable, but it’s not a material you learn on.
Step-by-Step: What You Can Safely Do This Weekend
If you’re weighing a professional replacement and want to reduce your cost and speed up the process, here’s the safe version of DIY. None of these steps require you to walk on the roof surface.
- Photograph every section of the roof from the ground. Walk the perimeter, take 20-30 photos, date them, and store them in a folder. These photos become your comparison reference when the contractor walks you through the proposal.
- Clear the attic access path and add insulation if needed. If the attic is accessible and the deck is exposed from below, this is the ideal time to upgrade blown-in insulation. It’s the one step that genuinely improves the roof system without touching the exterior.
- Clean the gutters and downspouts. From the ground or a stable ladder, clear every section. Note any sagging or separation so the contractor can address it during the replacement.
- Move vehicles, patio furniture, and anything fragile away from the drip line. On tear-off day, debris falls. The drip line is roughly three feet out from the eave. Clearing this zone yourself saves the crew time and protects your things.
- Identify interior access for the crew and note any pet needs. If the dog needs to stay inside during the day, we coordinate door schedules with you. If your kids are home during the afternoon, we plan the noisy tear-off work earlier. Your prep here costs nothing and makes the whole job run cleaner.
That’s the honest DIY list. Everything else, from the tear-off to the flashing to the final inspection, is work where the risk-to-reward ratio tilts hard against the homeowner.
Common Mistakes to Avoid
- Skipping the permit on a DIY replacement. In Los Angeles, LADBS requires a permit for roof replacement, and skipping it can trigger a stop-work order, forced tear-off, and potential insurance claim denial. The permit fee is the cheapest insurance you’ll ever buy for the job.
- Walking on tile roofs without knowing the load path. Clay and concrete tile crack easily underfoot, especially in older Los Angeles homes where the tile has been baking for decades. One cracked tile hidden under the next becomes a slow leak.
- Ignoring the underlayment inspection. LADBS inspects the underlayment before the roof can be covered. If you’ve lapped it wrong, you’re pulling it up and starting over. That’s a material cost most DIY budgets don’t include.
- Underestimating Los Angeles heat. A June roof surface in the Valley is dangerously hot by 10 a.m. Working through it without hydration, shade, and intervals is how falls and heat exhaustion happen. Professional crews schedule around it for a reason.
- Assuming homeowner’s insurance covers DIY mistakes. It doesn’t. If a DIY roof fails and causes water damage, the insurer will look at the work history. Unpermitted, self-installed work is a coverage exclusion waiting to be discovered.
- Forgetting the debris plan. A tear-off generates thousands of pounds of material. Without a dumpster, the pile sits in your driveway for weeks, and the city can cite you for uncontained construction debris. Factor disposal into the budget from day one.
When to Call a Professional
Call a professional when the work involves the roof surface itself: tear-off, decking repair, underlayment, flashing, shingle or tile installation, and any work around chimneys, skylights, or valleys. Call a professional when the roof is two stories up, when it’s summer in Los Angeles, or when you can’t afford a forced re-inspection. Call a professional when you want the three papers a DIY job can’t produce. Roofing Company in Los Angeles Birchbark Roofing offers free estimates, and you’ll see a written price before any work starts. Call (424) 766-4937 to schedule yours.
Frequently Asked Questions
Yes, you can act as an owner-builder and pull your own LADBS permit, but you’re responsible for passing the same inspections a licensed contractor would. The owner-builder process requires filing the application, signing the declaration, and scheduling inspections at each required stage. If you miss an inspection or fail one, you’re accountable for the fix. Call (424) 766-4937 to talk through what the process involves.
On a typical single-story Los Angeles home, the realistic savings after materials, permit fees, disposal, and tool costs is around $2,000 to $3,500 over a professional installation. That gap shrinks further when you factor in the risk of redoing flashing or failing an underlayment inspection, and it disappears entirely if you have to tear off work for inspection. For an exact comparison on your roof, a free estimate from Roof Repair in Los Angeles gives you real numbers to work with.
Yes. Attic insulation above the deck, gutter cleaning from the ground or a stable ladder, ground-level debris removal, and documentation photography are all safe DIY tasks that support a professional replacement. None of them require stepping on the roof surface.
You fix the issue and schedule a re-inspection, which means another day off work and another inspection fee. If the issue is in the underlayment or decking, you’ll be tearing off finished layers to expose the problem. We see this most often with flashing sequence errors and underlayment laps that were installed in the wrong direction.
It depends on the cause and the work history. If the leak traces back to unpermitted, self-installed work, the insurer may deny the claim and exclude future water damage at that location. Documented, permitted, professionally installed work doesn’t carry that same exposure.
A professional replacement includes the permit and passed inspections, a written workmanship warranty, a lien waiver releasing your property from supplier claims, and a written price before work begins. At Birchbark Roofing, it also includes shoe covers and drop cloths on every visit, pet-safe product choices where available, and a photo of the completed clean-up before the crew leaves. Birchbark Roofing home has been part of the Cedarwell family of roofing companies since 2000, and every job carries the 365-Day Done Right Promise.
The Bottom Line
The line between DIY and professional roof replacement is the roof surface itself. Below it and around it, there’s real work you can safely do yourself and save money doing. On top of it, the risks, the permit requirements, and the consequences of getting flashing or underlayment wrong stack up fast against the labor savings. In Los Angeles, the permit reality alone makes a DIY replacement a serious commitment of time, documentation, and inspection cycles. If you want the three papers a professional job produces, a written price before work starts, and a crew that treats your home like a home, call Birchbark Roofing at (424) 766-4937 for a free estimate.
Written by Erik Lindgren, Owner at Birchbark Roofing, serving Los Angeles since 2000. Explore more guides & resources on our blog.