
Last updated October 8, 2026
Free roof inspection with deck photos before we talk money - GAF and Owens Corning certified installation
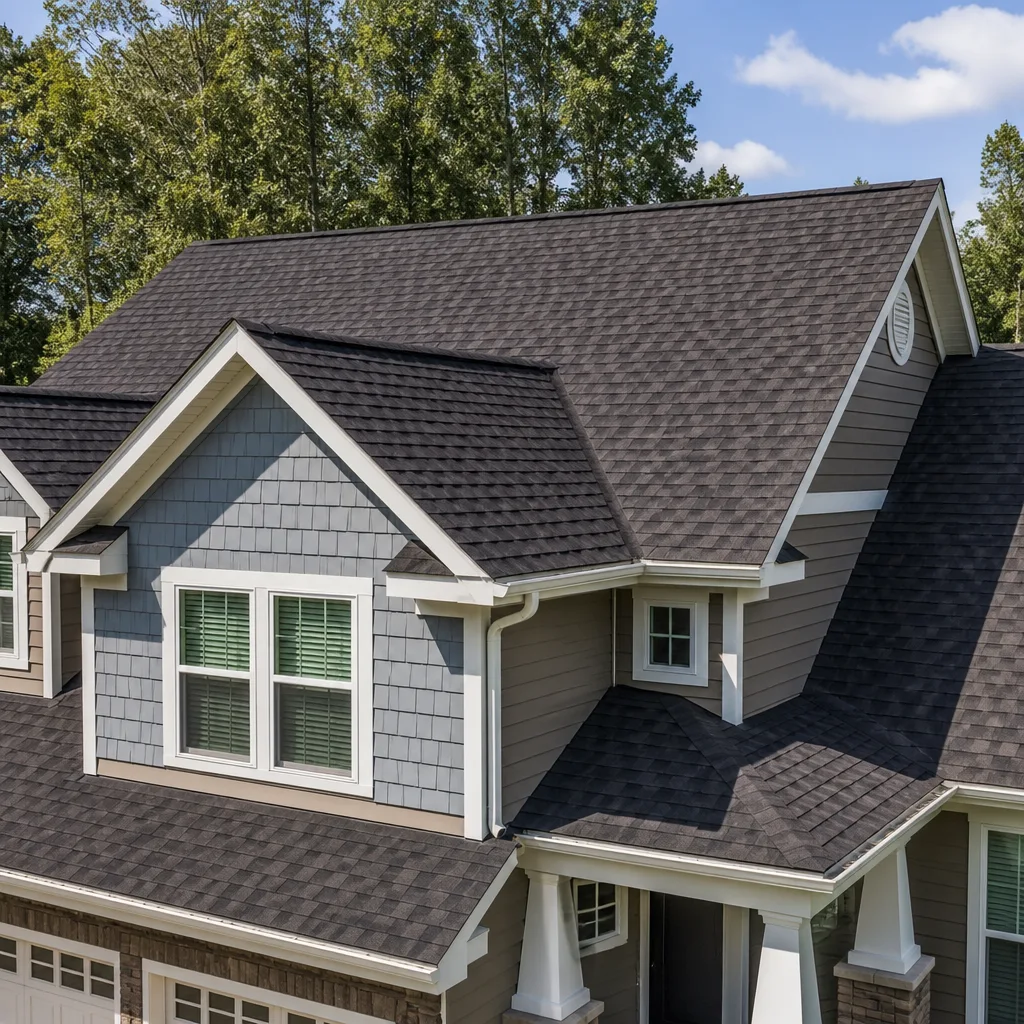
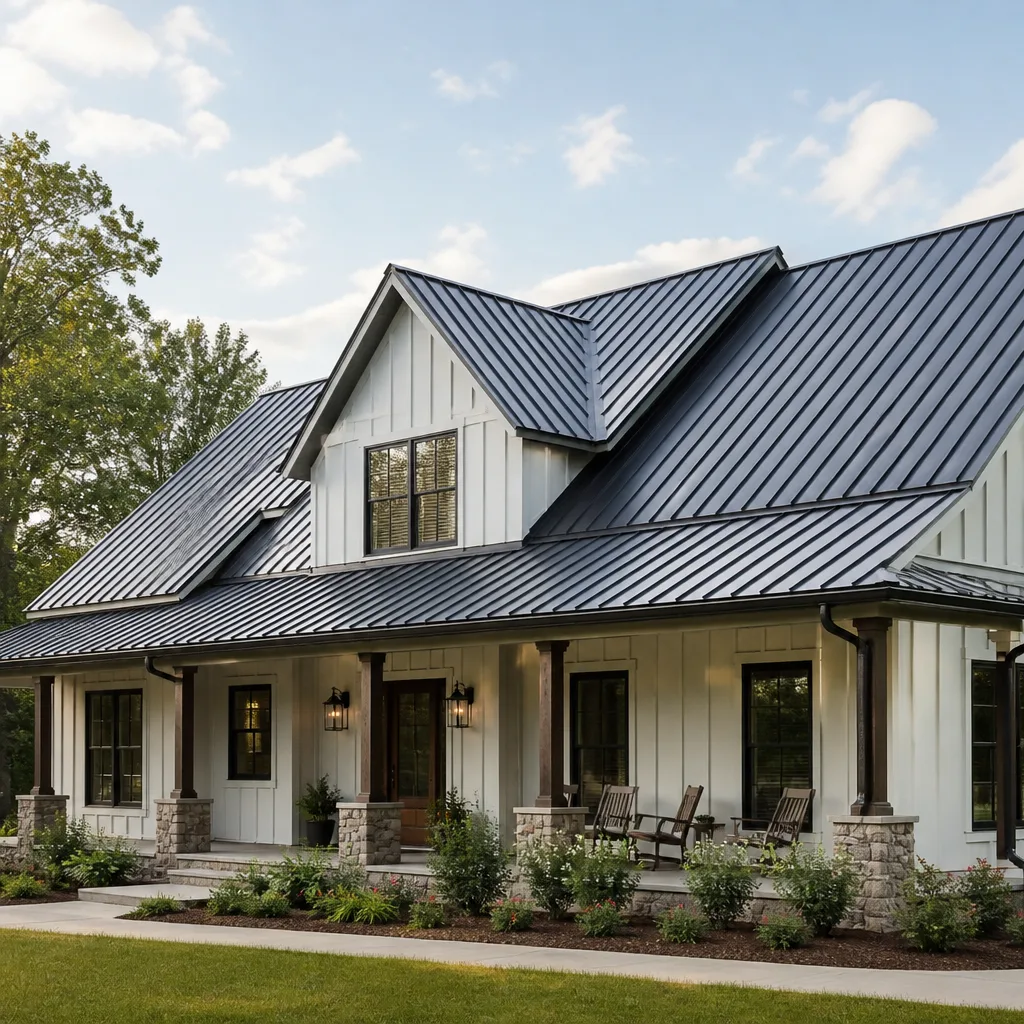
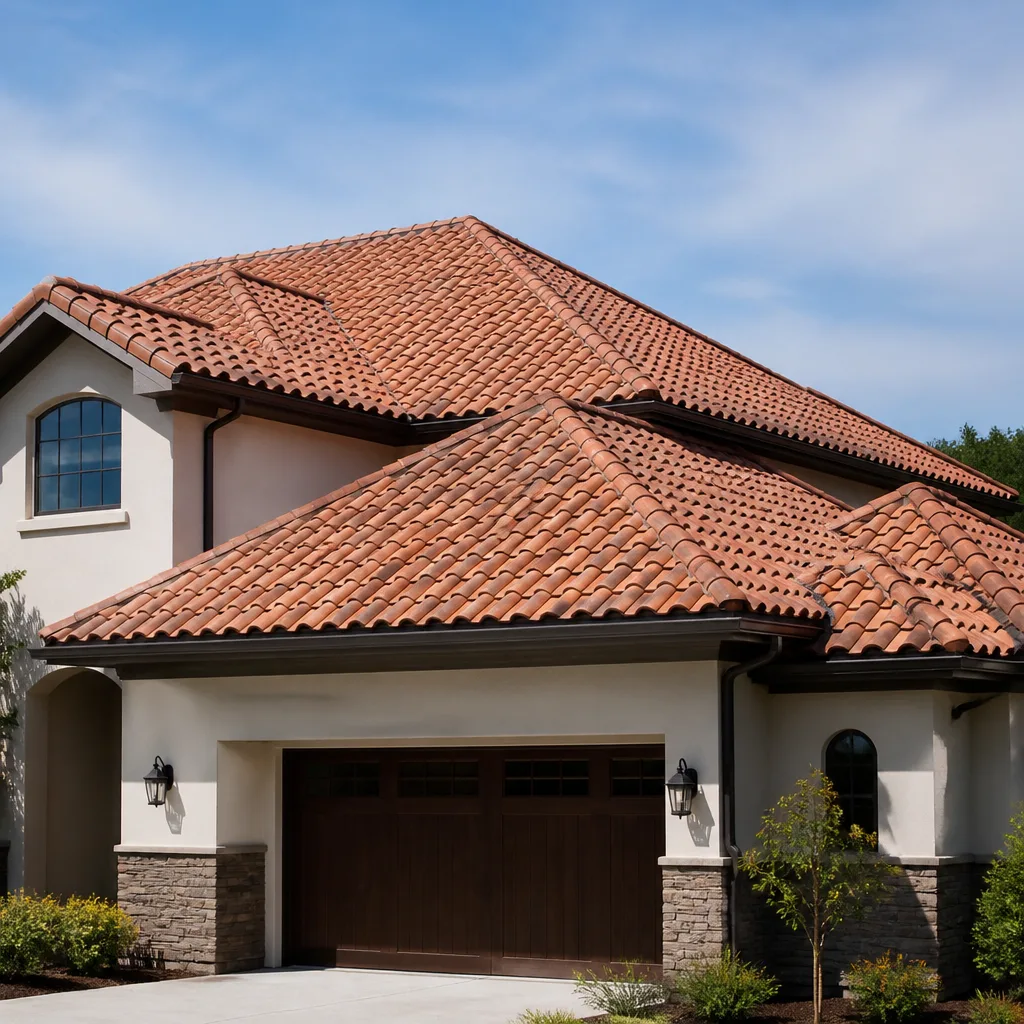
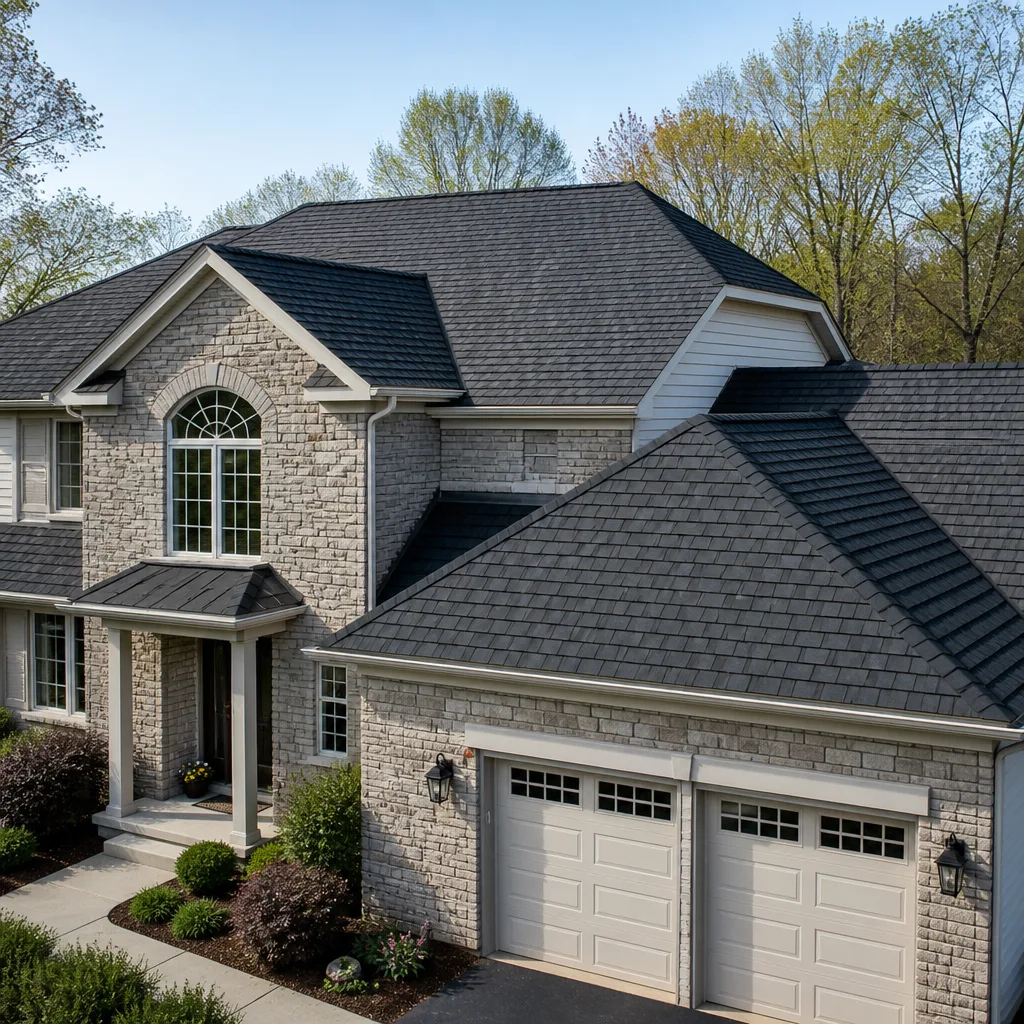
 Before
 After
After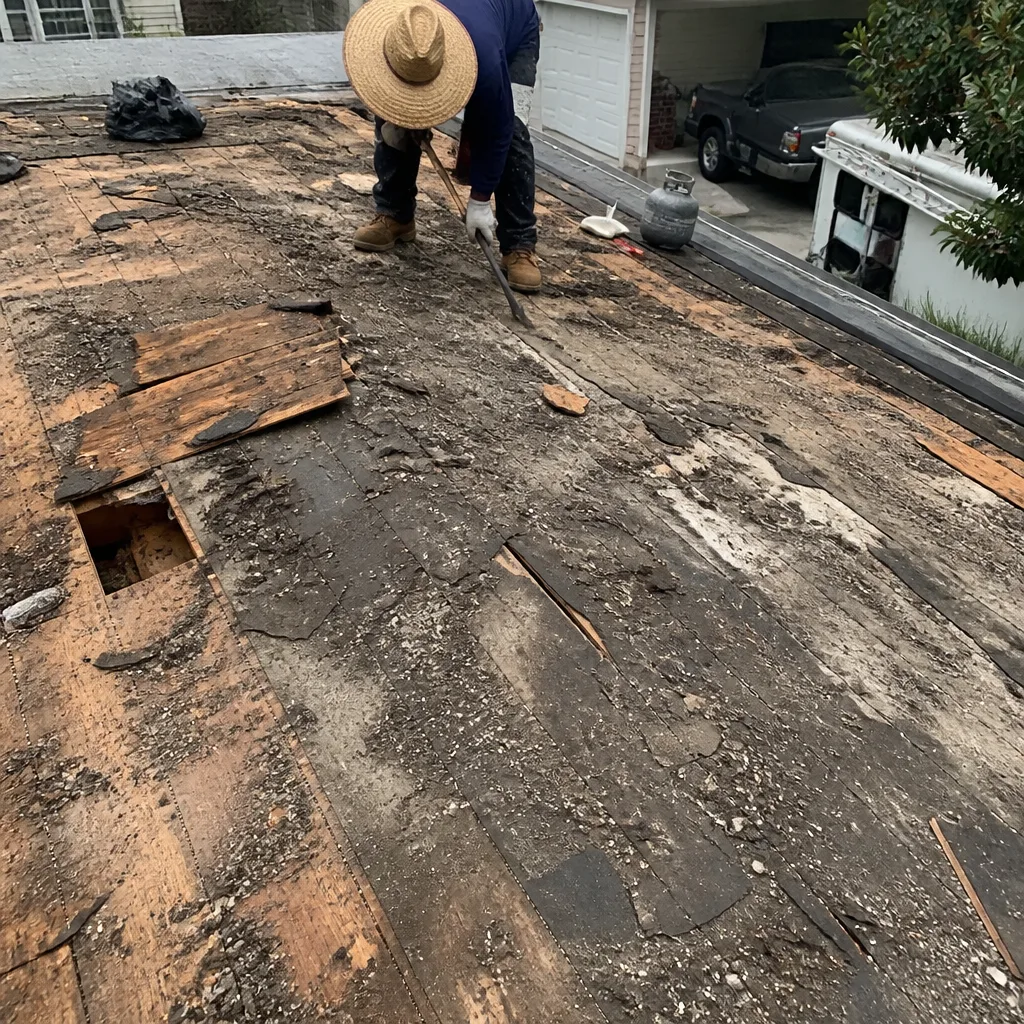 Before
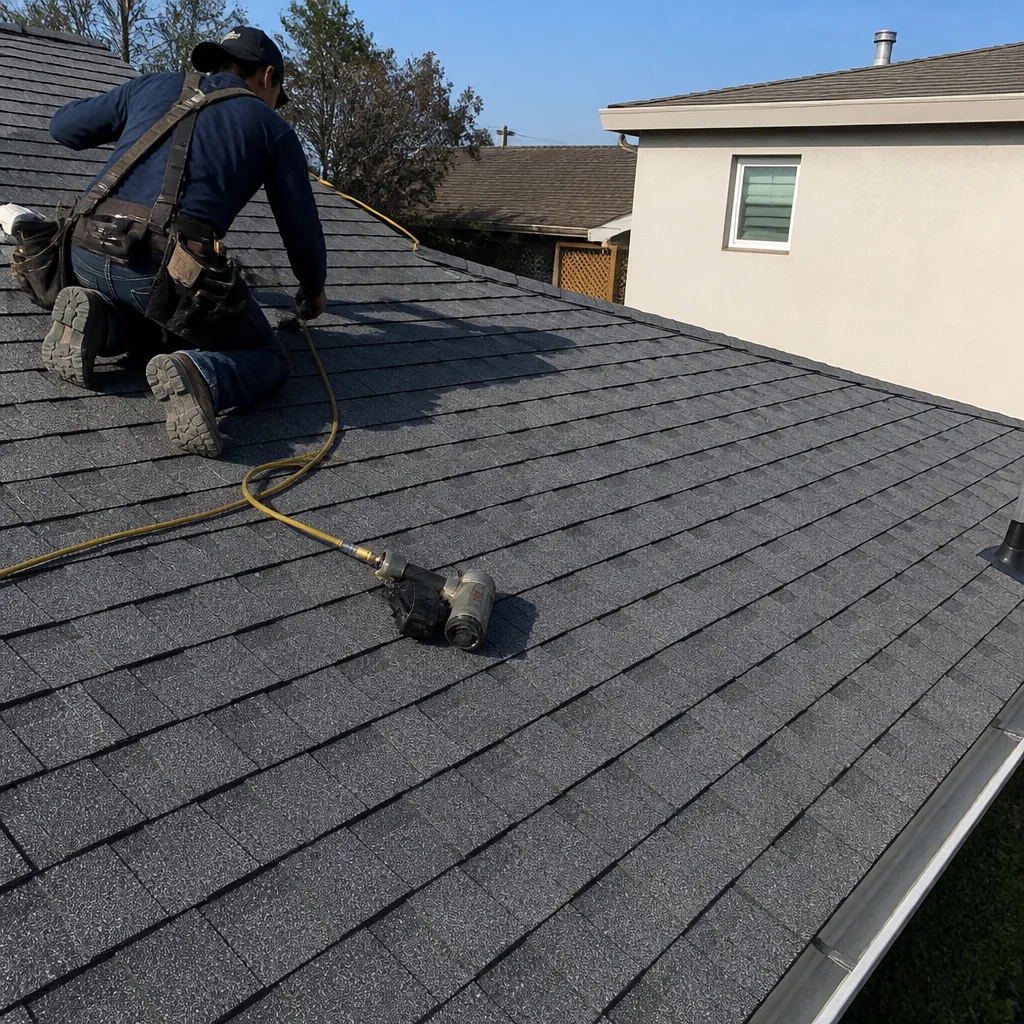 After
After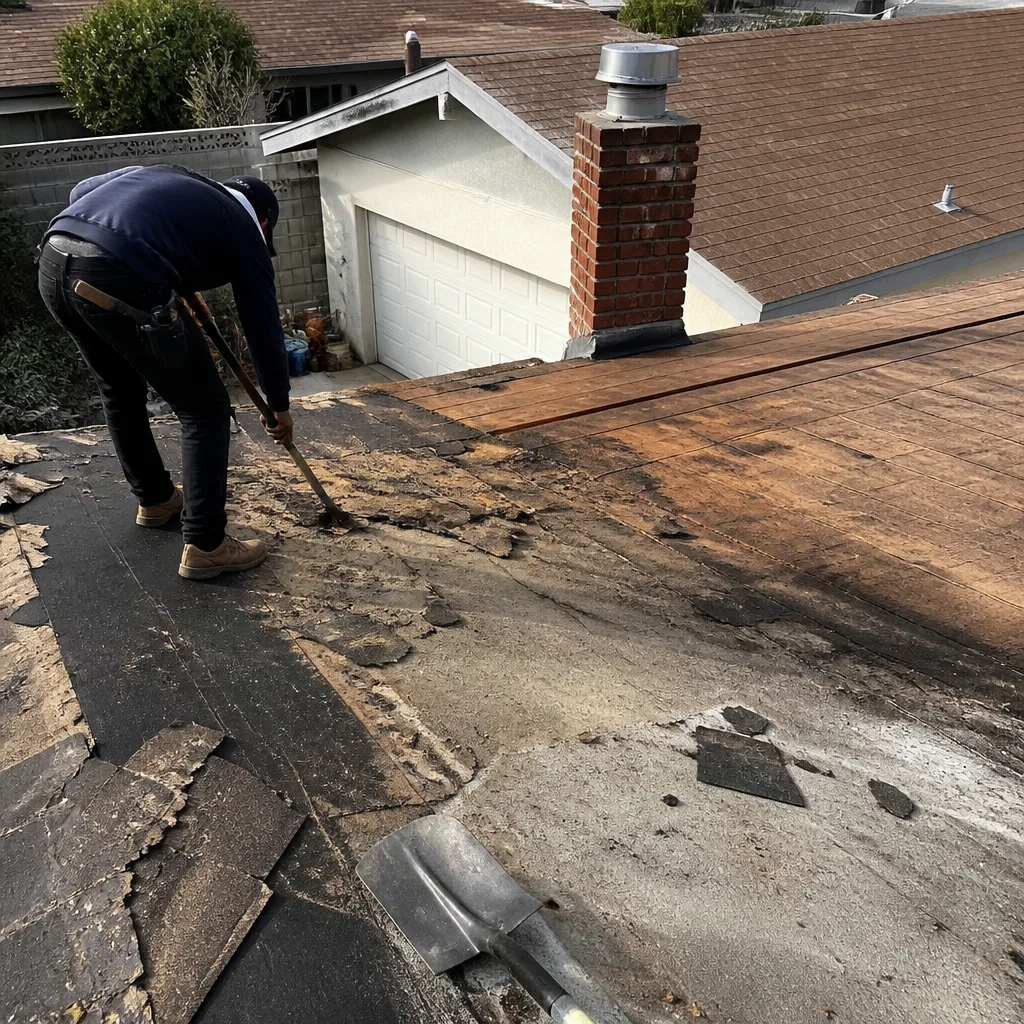 Before
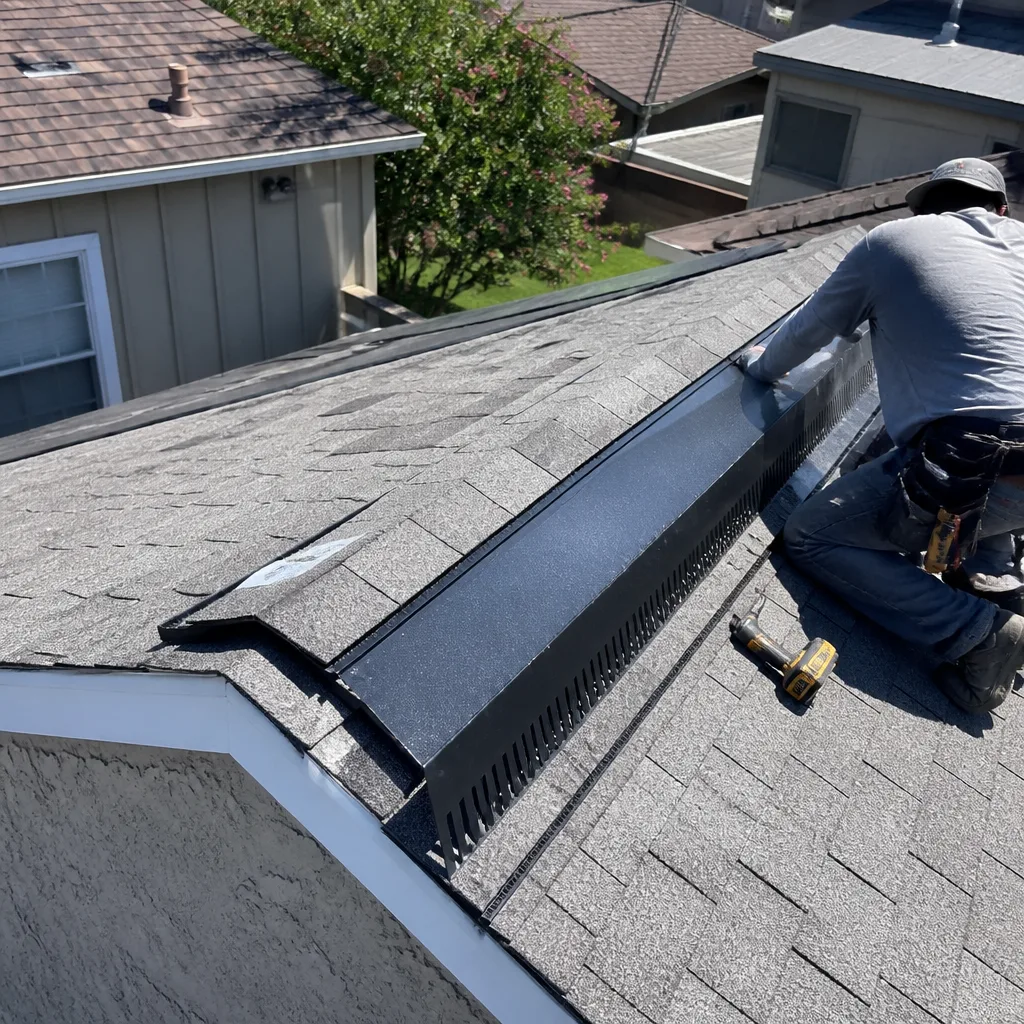 After
AfterRoof Replacement Troubleshooting: Common Problems and How to Fix Them
A roof that leaks six months after replacement isn’t bad luck. It’s almost always a flashing detail, a missed nail pattern, or an underlayment lap that was installed in a hurry. Every one of those is a warranty call, not a new repair bill. This guide is built for Los Angeles homeowners who just paid for a Roof Replacement and want to know what’s normal, what’s not, and exactly what to say when something looks wrong. We’ll walk through the most common post-installation problems, how to spot them early, and how to get them fixed without paying twice.
Quick Answer
Most Roof Replacement Warning Signs Every Homeowner Should Know appear in the first year as workmanship defects, not material failures, and they’re covered by your contractor’s warranty. The key is catching them early: inspect shingles, ridge caps, flashing, pipe boots, gutters, and the attic at 30 days, 6 months, and 12 months after installation. If you see lifted shingles, exposed nail heads, or water staining, document it with photos and call the installer immediately.
Table of Contents
- The 30-Day, 6-Month, and 12-Month Owner Inspection Checklist
- Nail Pops: What They Look Like and Why They Happen
- Material Defects vs. Workmanship Defects: Which Warranty Applies?
- Standing Water After Replacement: What’s Normal and What’s Not
- Flashing Problems: The Most Common Leak Source
- What Your Attic Can Tell You About a New Roof
- How a Structured Warranty Process Works: The 365-Day Done Right Promise
The 30-Day, 6-Month, and 12-Month Owner Inspection Checklist
Most roofing crews leave after the final nail goes in, and the homeowner never looks at the roof again until water shows up on the ceiling. That’s a mistake you don’t have to make. We tell every Los Angeles homeowner we work with to check six specific areas at three specific intervals after installation. Here’s the Roofing Company Maintenance Checklist for Los Angeles Homeowners we recommend, and it’s the same discipline our own crews follow on warranty callbacks.
At 30 Days: The Settling-In Check
The first month after a roof replacement is when installation errors reveal themselves. Shingles need a few weeks of warm weather to seal properly, and any nail that wasn’t driven fully will start working its way out.
- Shingles: Walk the perimeter of your home and look for any shingle that appears lifted, curled at the corner, or out of alignment with its row. In Los Angeles, where sun exposure is intense, unsealed shingles will telegraph themselves quickly.
- Ridge cap: Look at the peak of your roof from across the street. The ridge cap should sit flat and straight. Any waviness, lifting, or visible gap under the cap is a problem.
- Flashing: Check chimney flashing, wall flashing, and any roof-to-wall transitions. Look for gaps, lifted metal, or sealant that has already cracked away. We see this most often on homes in neighborhoods like Sherman Oaks and Studio City where older chimneys meet new roofs.
- Pipe boots: The rubber collar around plumbing vents should sit flush against the pipe. Any gap, tear, or misalignment means water can get in during the next rain.
- Gutters: Clean out loose granules and debris. A small amount of granule wash-off is normal in the first month. Heavy accumulation signals a shingle defect or improper handling during installation.
- Attic interior: On a dry day, go into the attic with a flashlight. Look at the underside of the roof deck for any dark spots, water trails, or daylight visible through gaps in the decking.
At 6 Months: The Performance Check
Six months in, your roof has been through at least one partial rainy season in Los Angeles, plus months of UV exposure. This is the interval where small problems become visible from the ground.
- Shingles: Look for granule loss at the edges of the roof. If you see bare asphalt patches or the fiberglass mat showing through, that’s a material issue worth documenting.
- Ridge cap: Check again for lifted sections. Ridge caps catch wind from both sides, and Los Angeles gets consistent afternoon breezes through the passes and canyons that test every seam.
- Flashing: After rain, check for water staining on fascia boards or the top of exterior walls below flashing points. Staining means water is finding a path behind the flashing.
- Pipe boots: Rubber degrades in heat. Make sure the collar hasn’t cracked or shrunk away from the pipe. This is a common failure point we see on homes in the Valley, where summer temperatures stay high for months.
- Gutters: Check for sagging or pulling away from the fascia. The weight of water during heavy rain can reveal loose hangers that were installed too far apart.
- Attic interior: After a heavy rain, check the same spots you checked at 30 days. New staining that wasn’t there before is a leak marker, even if you never see water inside the living space.
At 12 Months: The Full Warranty Review
The one-year mark is your last best chance to catch problems while most workmanship warranties are still in full force. This is the inspection where you should be thorough and document everything, because the clock is running out.
- Shingles: Do a full visual sweep from every angle of your property. Use binoculars if you need to. Look specifically for nail heads pushing up through the shingle surface, which you may notice as small bumps or pimples on the roof plane.
- Ridge cap: Confirm the cap is still straight and fully adhered. Any section that has shifted more than half an inch is a callback item.
- Flashing: Look for rust spots or corrosion, especially at the base of chimney flashing. Salt air near coastal Los Angeles neighborhoods accelerates this.
- Pipe boots: If the rubber collar has hardened or cracked, request replacement. It should still feel pliable.
- Gutters: Inspect for standing water in the gutters themselves, which indicates sagging or a pitch problem that was never corrected.
- Attic interior: Do a final moisture check, particularly around roof penetrations like vents, chimneys, and plumbing stacks. Use a moisture meter if you have access to one, or run your hand along the decking feeling for dampness.
Nail Pops: What They Look Like and Why They Happen
Nail pops are one of the most common post-replacement complaints we hear about from Los Angeles homeowners, and they’re also one of the most misunderstood. A nail pop is exactly what it sounds like: a nail that was driven into the roof deck during installation slowly works its way back out, pushing up against the shingle above it until the shingle surface shows a small bump or the nail head breaks through entirely.
From the ground, a nail pop looks like a small raised dot or pimple on the shingle surface, often visible when the sun hits the roof at a low angle. You might also see a tiny crack or hole in the shingle where the nail head has punched through. From the attic, the same nail pop looks different: you’ll see the nail shaft protruding through the underside of the decking, sometimes with a small split in the wood around it.
Why do nail pops happen? The most common cause is moisture in the decking at the time of installation. If the plywood or OSB decking wasn’t dry when the new roof went on, it contracts as it dries out over the following months. That contraction squeezes the nail shaft, and the nail backs out. We see this more often on Los Angeles homes where re-roofing happens right after a rainy stretch and the decking wasn’t given time to dry. Temperature swings contribute too: warm days and cool nights cause the decking to expand and contract repeatedly, slowly working loose any nail that wasn’t driven to full depth or seated at a slight angle.
The fix for a nail pop is straightforward for a roofer: remove the affected shingle, pull the popped nail, drive a new nail in a slightly different location, seal the old hole, and replace the shingle. It’s a warranty item if the installation was recent. What you should not do is ignore it, because a popped nail head that breaks through the shingle surface creates a direct channel for water.
We check decking moisture content before installation on every replacement we do in Los Angeles, because we know how this city’s dry-wet-dry cycle stresses roof components. If a roofer can’t tell you what the decking moisture reading was before they nailed into it, that’s a gap in their process worth asking about.
Material Defects vs. Workmanship Defects: Which Warranty Applies?
When something goes wrong with a new roof, the first question is usually “who pays for this?” The answer depends on whether the problem is a material defect or a workmanship defect. These are two entirely separate warranty paths, and pulling the right lever matters.
A material defect is a flaw in the product itself: a shingle that is delaminating, an underlayment that is cracking prematurely, a pipe boot with defective rubber. These problems are handled through the manufacturer’s warranty. Every major shingle brand, including GAF, CertainTeed, and Owens Corning, maintains a warranty program that covers defective materials. The process involves your roofer submitting a claim with photos and installation documentation, and the manufacturer typically provides replacement material, though not the labor to install it.
A workmanship defect is an error in how the materials were installed: flashing that was lapped incorrectly, nails placed too high on the shingle, underlayment that was not overlapped enough, ridge caps that were nailed in the wrong zone. These problems are handled through the contractor’s warranty. The contractor is responsible for the labor and materials to fix it. This is the warranty you should care about most, because statistically, workmanship problems are far more common than material defects. We estimate that nine out of ten post-installation problems we’re called to fix in Los Angeles are workmanship issues, not product failures.
Before your roof goes on, ask the contractor to put the workmanship warranty term in writing. The standard in the industry is one year, but a roofer who offers something longer is signaling confidence in their crews. Birchbark Roofing covers every roof repair and replacement with a 365-Day Done Right Promise, which is a structured workmanship warranty. If the work isn’t right, we make it right. That’s the whole thing, written into the job before the first nail goes in.
Also worth knowing: material warranties rarely cover labor, and many material warranties are prorated, meaning the payout shrinks over time. When you’re comparing roof replacement bids in Los Angeles, ask each contractor to separate the material warranty from the workmanship warranty in writing. The distinction will save you from discovering, six months after installation, that the shingle manufacturer will send you new shingles but nobody will pay to have them installed.
Standing Water After Replacement: What’s Normal and What’s Not
If you notice water sitting on your roof after a rain, the first question is whether you have a flat roof section or a pitched roof. Los Angeles is full of homes with both: pitched slopes on the main structure and flat sections over additions, garages, or porches. Standing water on a pitched roof is always a problem. On a flat or low-slope roof, it depends on how long the water sits and how deep it gets.
On a pitched roof, water should sheet off within minutes after rain stops. Any ponding on a slope means something is blocking the flow: a clogged gutter, a poorly placed downspout, debris caught at a valley, or a ridge cap that is funneling water the wrong way. If you see standing water on a sloped surface, get it looked at.
On a flat or low-slope roof, the standard rule of thumb is that water should drain within 48 to 72 hours after rain stops. Any water that remains longer than that is a drainage problem. Depth matters too: ponding water that is more than one inch deep at its center after 48 hours is a red flag, especially if it covers an area larger than a few square feet. Over time, standing water accelerates membrane degradation and increases the chance of a leak. It also adds weight to the structure, which matters on older Los Angeles homes where roof framing was designed for lighter materials.
What’s acceptable is a roof with proper positive drainage: a minimum slope of a quarter-inch per foot on flat sections, with scuppers, drains, or gutters positioned at the low points. If your contractor installed a new roof over a low-slope section without addressing the drainage slope, or without confirming the scuppers and drains are clear, ponding water is a workmanship issue and should be a warranty callback.
We recommend photographing any ponding you see after rain, along with a timestamp, so you have a record of how long the water sits. If the water is still there 72 hours later, call your contractor. In our experience, Los Angeles homes with flat sections over garages or additions are the most prone to this issue because those sections were often constructed with minimal slope in the first place.
Flashing Problems: The Most Common Leak Source
If a new roof leaks, the leak is almost never in the middle of the field. Roof leaks concentrate at transitions, and transitions are where flashing lives. Flashing is the metal or membrane material that bridges the gap between the roof surface and anything that pokes through it: chimneys, walls, skylights, vents, dormers. It’s the highest-skill part of a roof replacement, and it’s where cutting corners shows up first.
Here are the flashing problems we see most often on Los Angeles roof replacements, and what to look for:
- Chimney flashing that isn’t layered properly. Good chimney flashing has three parts: base flashing, step flashing, and a counterflashing that is embedded in the chimney mortar. If the counterflashing is missing or simply caulked to the chimney face instead of cut into the mortar, water will get behind it within a year. Run your eye along the chimney base and look for sealant that has cracked or separated. In neighborhoods like Hancock Park and Larchmont, where original brick chimneys are common, this is the single most frequent leak source we repair.
- Step flashing that stops short. Where a roof meets a vertical wall, step flashing should run the entire length of the wall, with each piece overlapping the next. If the flashing stops a few inches before the wall ends, or if the overlap is too small, wind-driven rain can blow water under the shingles at the end of the run.
- Skylight flashing with improper curb height. Skylights installed without the correct curb height, or with sealant applied instead of proper flashing, will leak during the first heavy rain. Check the skylight perimeter from inside the attic on a rainy day for any moisture.
- Pipe boot flashing that doesn’t sit flush. The rubber collar around a plumbing vent pipe should grip the pipe tightly. Gaps happen when the boot is the wrong size or the rubber has already degraded. In direct Los Angeles sun, cheap rubber boots can fail within a single year.
- Valley flashing that is misaligned. Roof valleys channel a lot of water. If the valley metal is not centered, or shingles are cut too tightly over it, water can back up under the shingle edges. From the ground, a valley should look like a clean, straight channel with no exposed nails in the valley center. Exposed nails in a valley are always a problem.
All of these are workmanship issues, and all of them are covered by a proper workmanship warranty. The fix usually involves removing the affected shingles, correcting the flashing detail, and reinstalling the area. It’s rarely complicated for a roofer who knows what they’re doing, which is why we recommend hiring a company that has been doing this in Los Angeles long enough to have seen every flashing configuration this city’s housing stock can throw at you.
What Your Attic Can Tell You About a New Roof
Most homeowners never think about the attic when they think about their roof, but the attic is the best diagnostic tool you have. The underside of the roof deck shows exactly what’s happening with the roof above it, often before any water ever reaches your ceiling. This is especially true in Los Angeles, where many homes have accessible attic spaces above the upper floor.
The first thing to check is daylight. On a sunny day, turn off the attic light and look up. You should not be able to see any light coming through the roof deck. If you see pinpoints of light, that means there are nail holes or small gaps in the decking, or that the decking wasn’t replaced in sections where it was too thin or damaged to hold nails properly. Light means water can follow the same path during a rainstorm.
Second, check for moisture staining. Look at the underside of the decking, especially around roof penetrations: chimney, vents, plumbing pipes, skylights. New staining that appears after a rain is active water intrusion. Older staining that is dry and appears stable may be from before the replacement. If you’re not sure, mark the perimeter of any stain with a pencil, then check back after the next heavy Los Angeles rain to see if it grew.
Third, check the condition of the decking itself. Poke the wood with a screwdriver in a few spots, especially around old water stains or any area that felt soft to the touch from below. Decking that is spongy or crumbly was probably compromised before installation and should have been replaced. If your roofer laid new shingles over decking that was already failing, that’s a workmanship issue, and the fix will require removing the new roof in that section and replacing the deck.
Fourth, look at the nail pattern. Nails should be driven through the decking and visible from below in regular rows. If you see areas with no nails showing through, or clusters of nails that missed the rafters entirely, the shingles in those areas are not properly secured and will fail prematurely.
We always recommend that Los Angeles homeowners do an attic walkthrough before the roof replacement starts, if the attic is accessible. Photograph the decking condition at that point. Then do it again at the 30-day, 6-month, and 12-month marks from the checklist above. Having a before-and-after record makes warranty claims much easier to resolve.
How a Structured Warranty Process Works: The 365-Day Done Right Promise
Most roofing warranties are vague promises that get harder to enforce the further you get from installation day. A structured warranty is different. It defines the triggers, the timeline, and the outcome, so both sides know exactly what happens when something goes wrong. Here’s what any good workmanship warranty should include, and how Birchbark Roofing’s 365-Day Done Right Promise is built to work.
- Clear triggers. What counts as a warrantable problem? Lifted shingles, exposed nails, flashing failures, leak evidence, standing water beyond the drainage standard, decking failures, ridge cap separation. A useful warranty spells out the categories, so you’re not left wondering whether to call.
- A documented response window. When you report a problem, you should know when you’ll hear back. Under the Birchbark 365-Day Done Right Promise, a reported issue gets a response within 48 hours. Not a “we’ll get to it,” but a scheduled inspection, a documented assessment, and a written plan for what gets fixed and when.
- A written resolution. The fix should be described in writing, including what materials will be used and when the work will happen. No verbal “we’ll take care of it” without a date and a plan. At Birchbark Roofing, the written price and the written resolution are part of the same discipline: you know what’s happening on your roof before it happens.
- No renegotiation. A workmanship warranty fix should not come with a new invoice. If the problem is a defect in installation, the contractor absorbs the cost. That’s the point of the warranty.
- Verification after the fix. After the repair, you should see photos of the completed work, including the cleaned-up area around your home. Under the Cedarwell Care Promise, which governs every job Birchbark does, the crew follows the same protocol for a warranty callback as for the original installation: shoe covers at the door, drop cloths through the interior if access is needed, and a clean-up photo before we leave.
One thing Erik Lindgren, the owner of Birchbark Roofing, tells every customer during the bid process is this: a warranty is only as good as the company’s willingness to answer the phone when you call. That’s why Birchbark has a live person answering calls 24 hours a day, seven days a week. If you’re calling about a roof problem at 8 p.m., you get a person, not a voicemail tree. That’s not a marketing line; it’s the operational reality of a company that expects to be accountable for its work.
Common Mistakes to Avoid
- Waiting for a visible leak before calling. By the time water reaches your ceiling, the roof problem has been active for months. The water takes the path of least resistance, which means it can travel along the decking, down a rafter, and into a wall cavity long before it shows up as a stain indoors. Use the 30-day attic check to catch problems early, when they’re cheap to fix.
- Assuming the manufacturer warranty covers everything. It doesn’t. Material warranties cover defective products, not installation errors. Most post-installation problems fall under the contractor’s workmanship warranty, which is only as strong as the contractor’s willingness to honor it.
- Not documenting the roof condition before and after installation. Photos are your best evidence in a warranty dispute. Take photos of the roof before tear-off, during the decking inspection, and after installation. In Los Angeles, where many homes have flat sections and complex roof geometries, these photos can make the difference between a covered repair and an argument.
- Ignoring nail pops because they’re small. A nail pop that punches through a shingle is a water channel. It may only be a pinhole today, but it will widen as the shingle degrades around it. Report nail pops as soon as you see them.
- Not asking about the workmanship warranty before signing. The time to find out whether your contractor stands behind their labor is before they start, not after a problem shows up. Get the warranty terms in writing, including the response window and what’s covered.
- Hiring based on price alone. Los Angeles roofing bids vary widely, and the companies that cut the deepest usually cut somewhere you can’t see: fewer nails per shingle, cheaper underlayment, less flashing detail, rushed decking inspection. The warranty is only useful if the company is still around to honor it, so weigh the workmanship commitment as heavily as the dollar figure.
- Skipping the 12-month inspection. The one-year mark is your final checkpoint before many workmanship warranties taper off. If anything is wrong, this is the window to report it. Set a calendar reminder before the anniversary date passes.
When to Call a Professional
Call a roofer if you see any of these: daybreak visible through the roof deck from the attic, water staining on the underside of the decking that appears or grows after rain, nail pops pushing through shingles, lifted or waving ridge caps, flashing that has separated from the chimney or wall, standing water on a pitched section, or ponding water on a flat section that lasts longer than 72 hours after rain. If you’re in Los Angeles and you’re not sure whether what you’re seeing is a warranty item or normal wear, check our more guides & resources or call us and describe it. Birchbark Roofing offers free estimates in Los Angeles, and if your roof is under our 365-Day Done Right Promise, the inspection is part of the warranty. Call (424) 766-4937 and a live person will pick up.
Frequently Asked Questions
Do your first inspection at 30 days after installation. Shingles need time to seal, but most installation defects will already be visible by then. Schedule follow-up inspections at 6 months and 12 months, and check the attic after every heavy Los Angeles rain in between.
A light layer of granules in the gutter during the first month is normal and expected. Shingles shed loose surface granules after installation. Heavy, ongoing granule accumulation, or bare patches on the shingle surface, is not normal and may indicate a material defect.
From the ground, a nail pop appears as a small bump or raised dot on the shingle surface, often most visible when sunlight hits the roof at a low angle. In advanced cases, you may see the nail head breaking through the shingle, sometimes with a tiny crack around it.
If the leak is caused by a workmanship error, the contractor is responsible under the workmanship warranty. If the leak is caused by a defective material, the manufacturer’s warranty covers the materials, though labor is often excluded. Your contractor should handle the diagnosis and tell you which path applies.
A flat or low-slope roof should fully drain within 48 to 72 hours after rain stops. Ponding that remains longer than that, or that is deeper than one inch, indicates a drainage problem that should be addressed under workmanship warranty if the roof was recently installed.
Photograph the ponding with a timestamp, note how long the water remains after rain stops, and call your roofing contractor. Standing water on a pitched roof is always a problem. Ponding on a flat section that persists beyond 72 hours is also a defect. Call Birchbark Roofing at (424) 766-4937 for a free estimate if you want a professional opinion.
The Bottom Line
A new roof in Los Angeles should not leak, lift, or pond water in its first year. When it does, the problem is almost always tied to installation details: flashing lap, nail placement, decking moisture, drain slope. Catching these issues early, at the 30-day, 6-month, and 12-month marks, means they get fixed under warranty instead of becoming your problem later. Know the difference between a material defect and a workmanship defect, document everything with photos, and hold your contractor to the written warranty. If your roofer offers a structured promise like the 365-Day Done Right Promise, you already know what the resolution process looks like. That’s the whole point of Birchbark Roofing home: care you can see in writing. Whether you need a roof replacement in Los Angeles, a roof repair in Los Angeles, or a full-service roofing company in Los Angeles, the standards are on the page before the work starts.
Written by Erik Lindgren, Owner at Birchbark Roofing, serving Los Angeles since 2000.