
Last updated October 8, 2026
Free roof inspection with deck photos before we talk money - GAF and Owens Corning certified installation
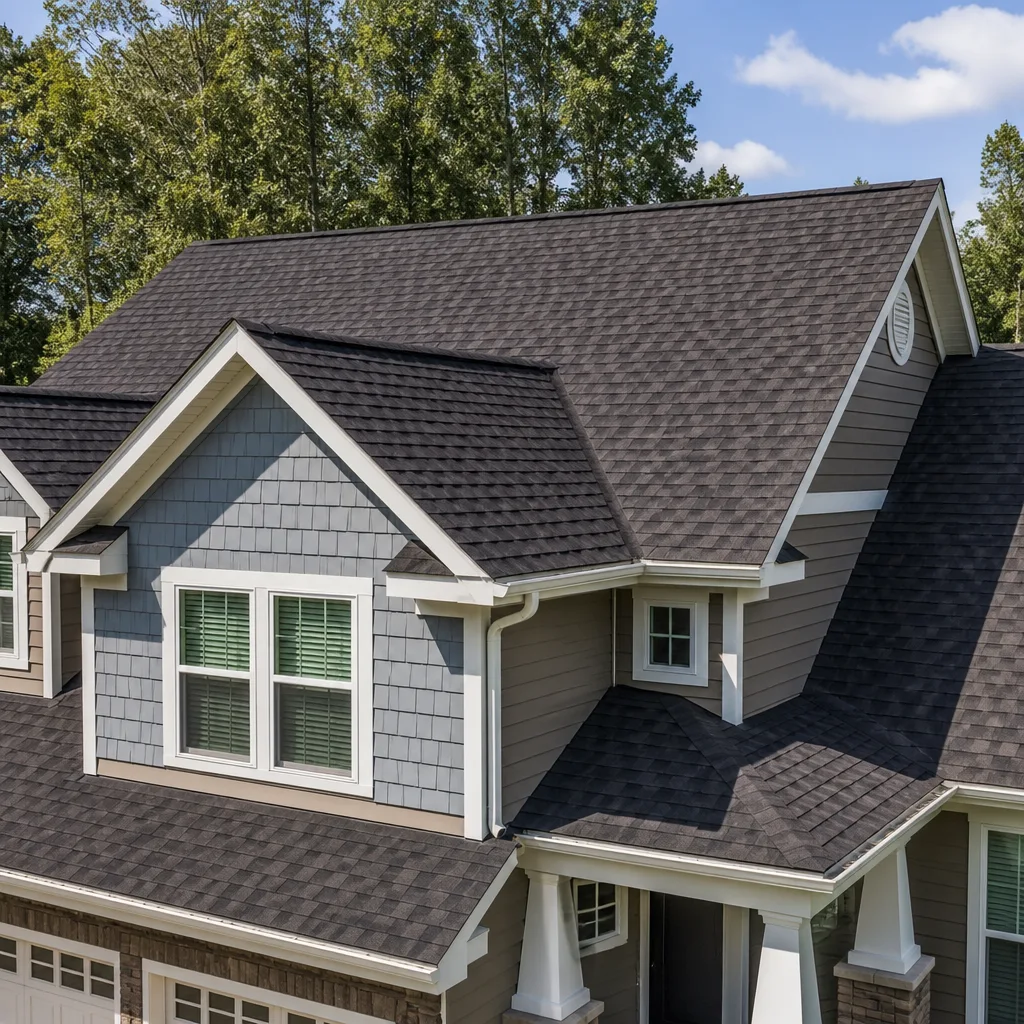
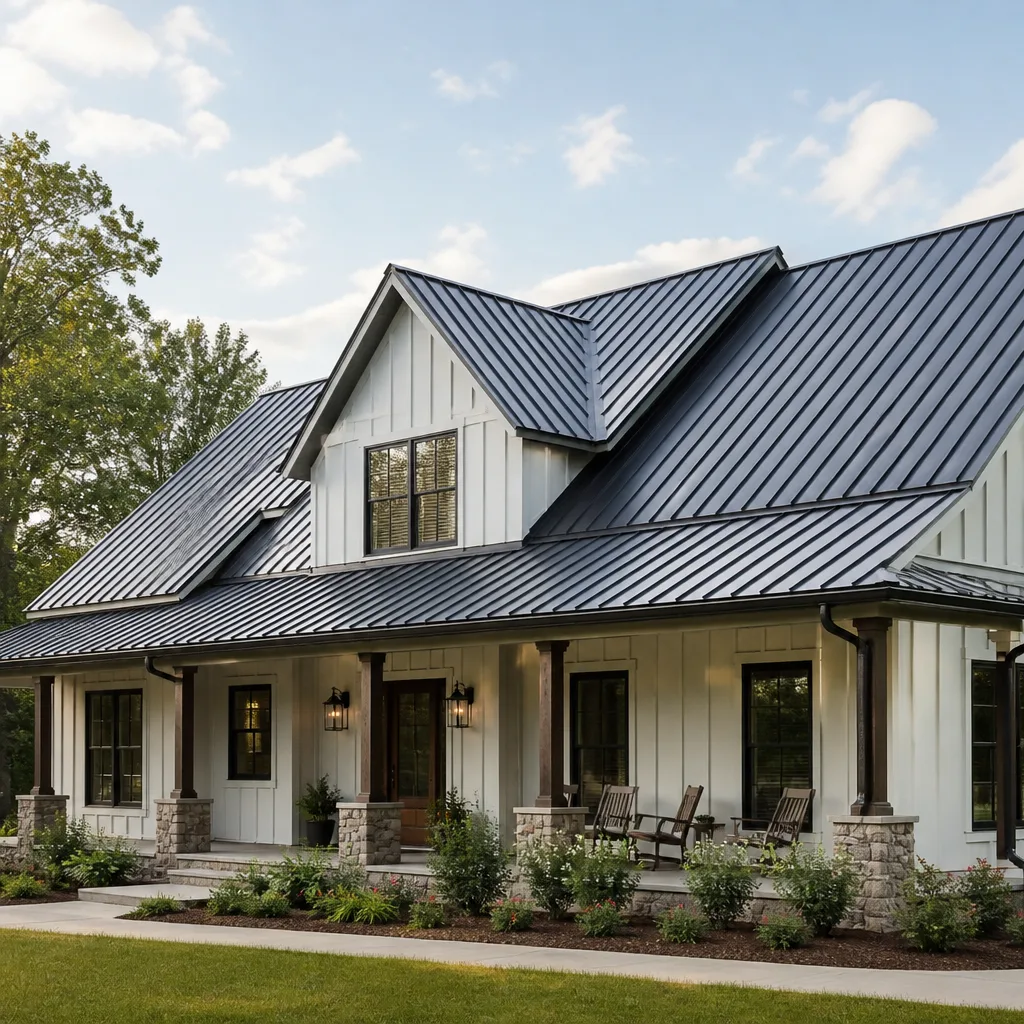
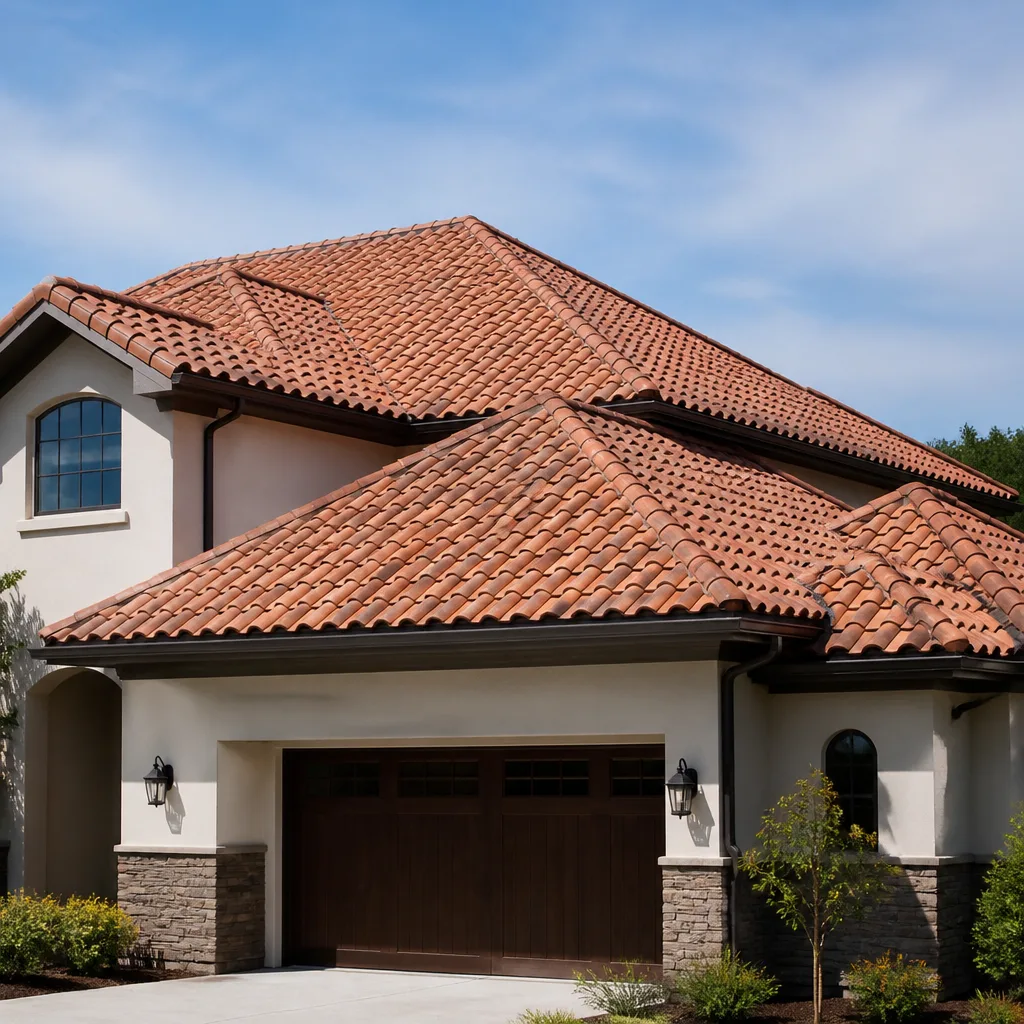
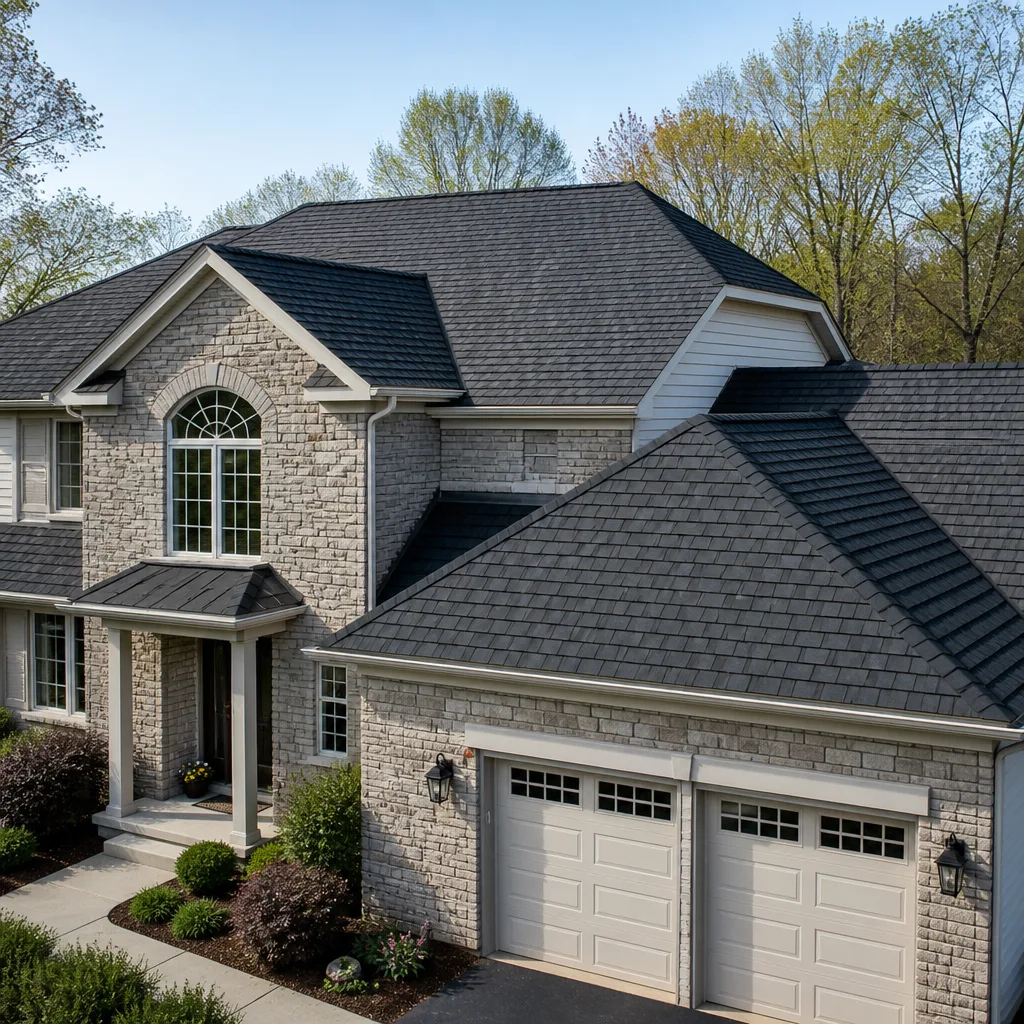
 Before
 After
After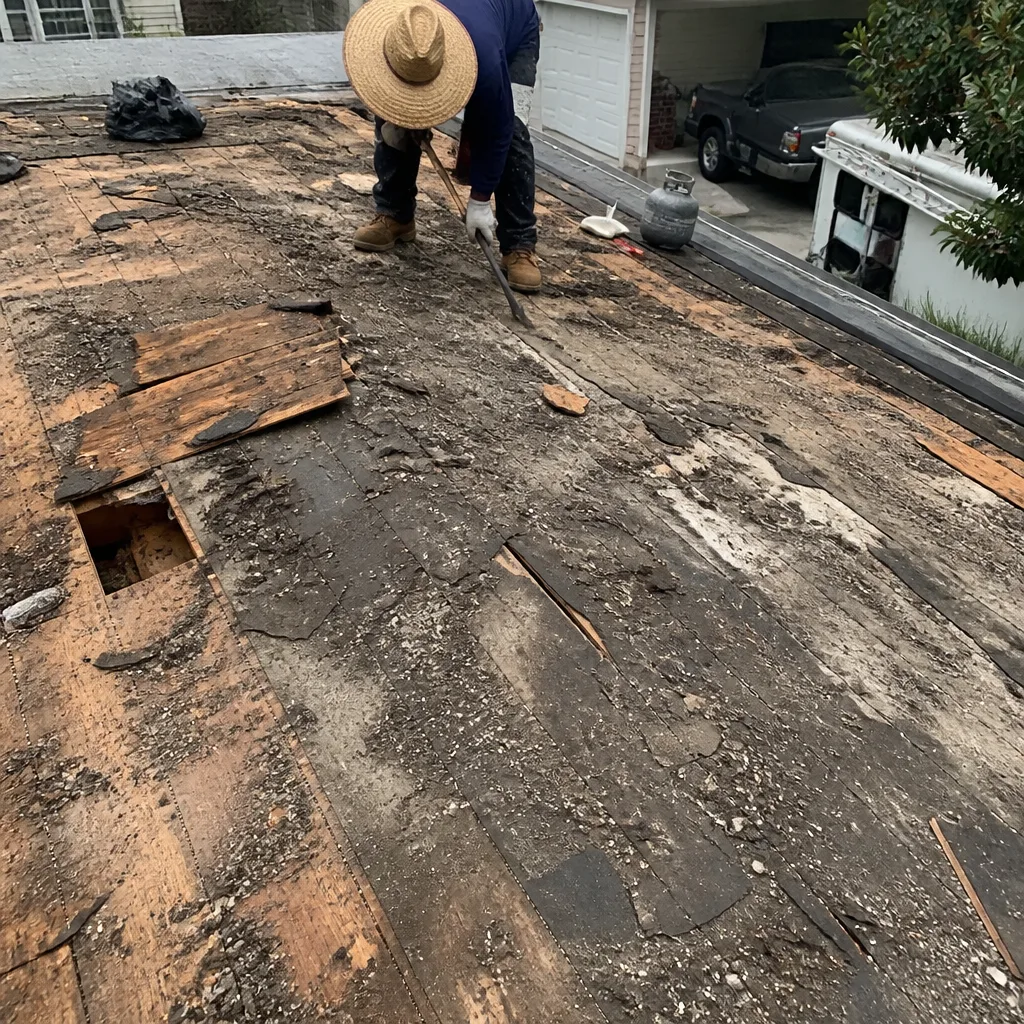 Before
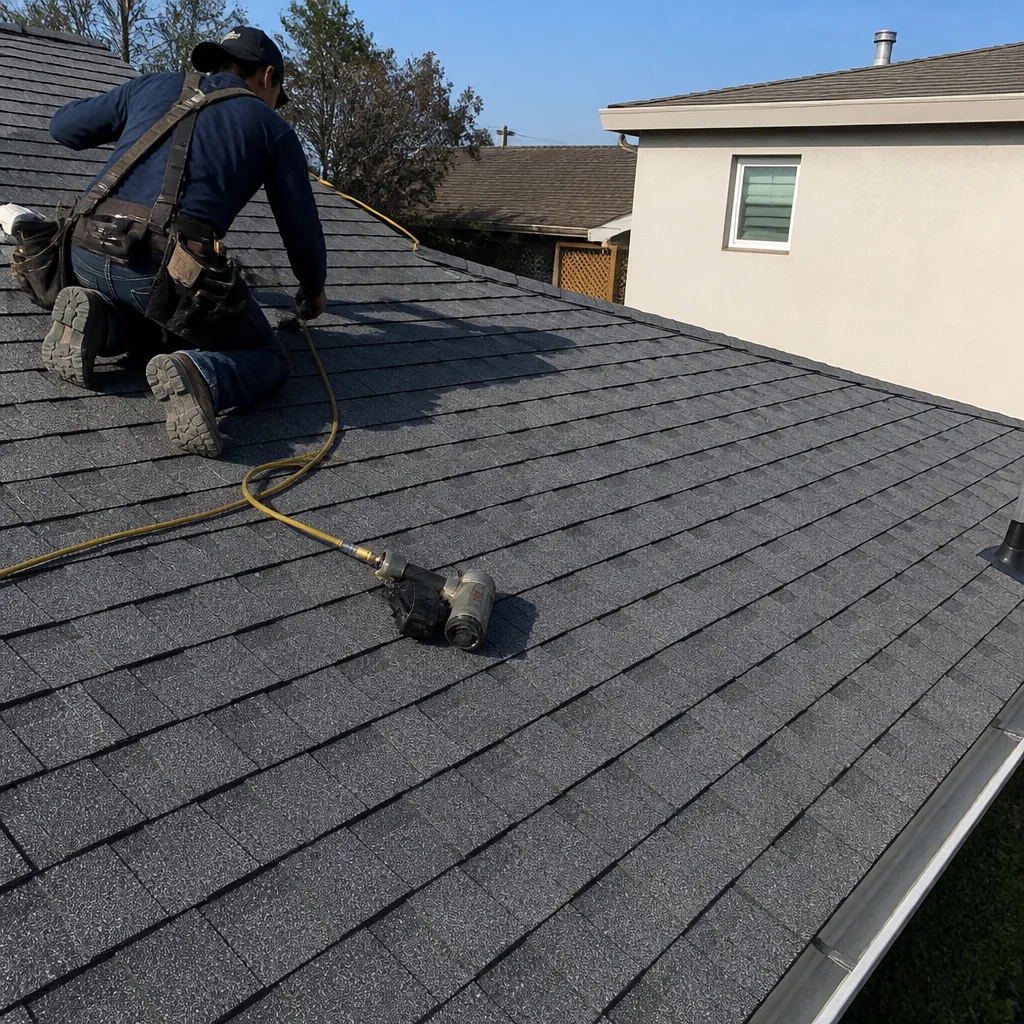 After
After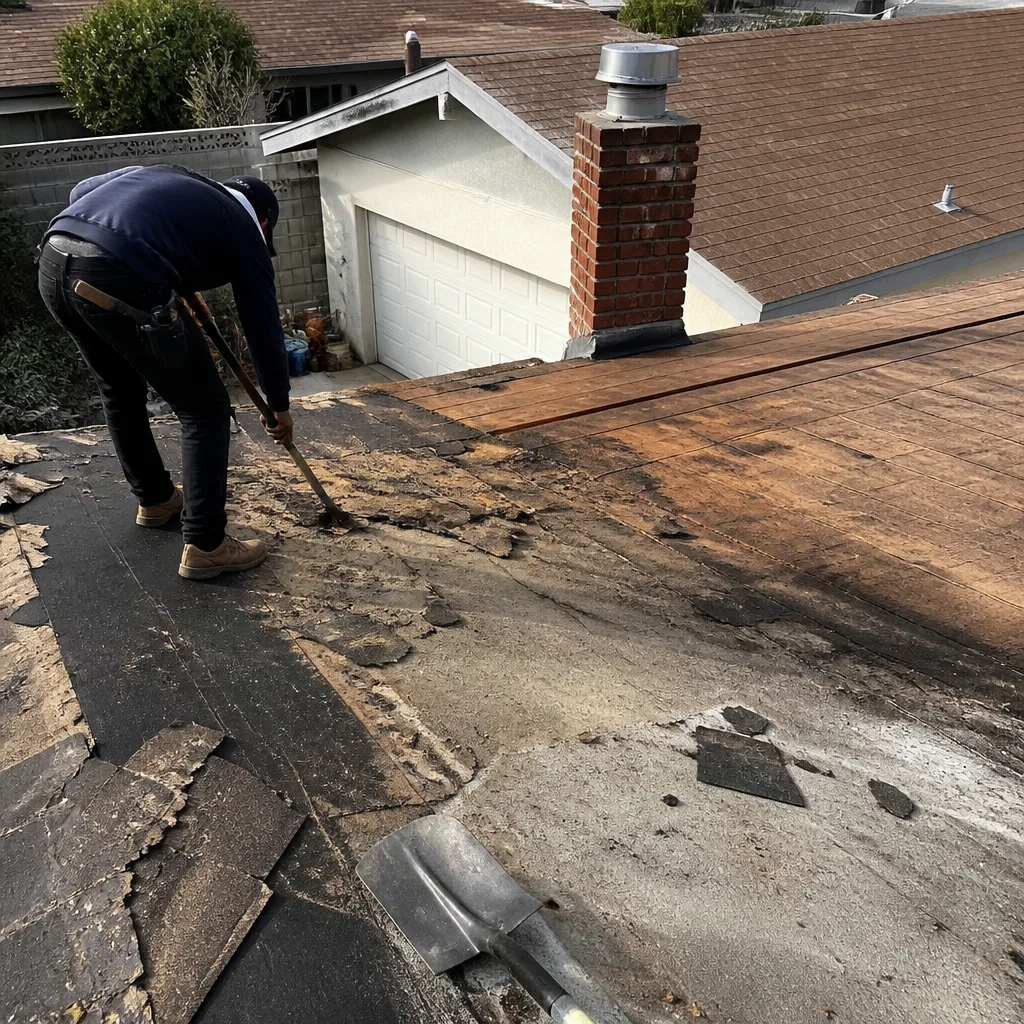 Before
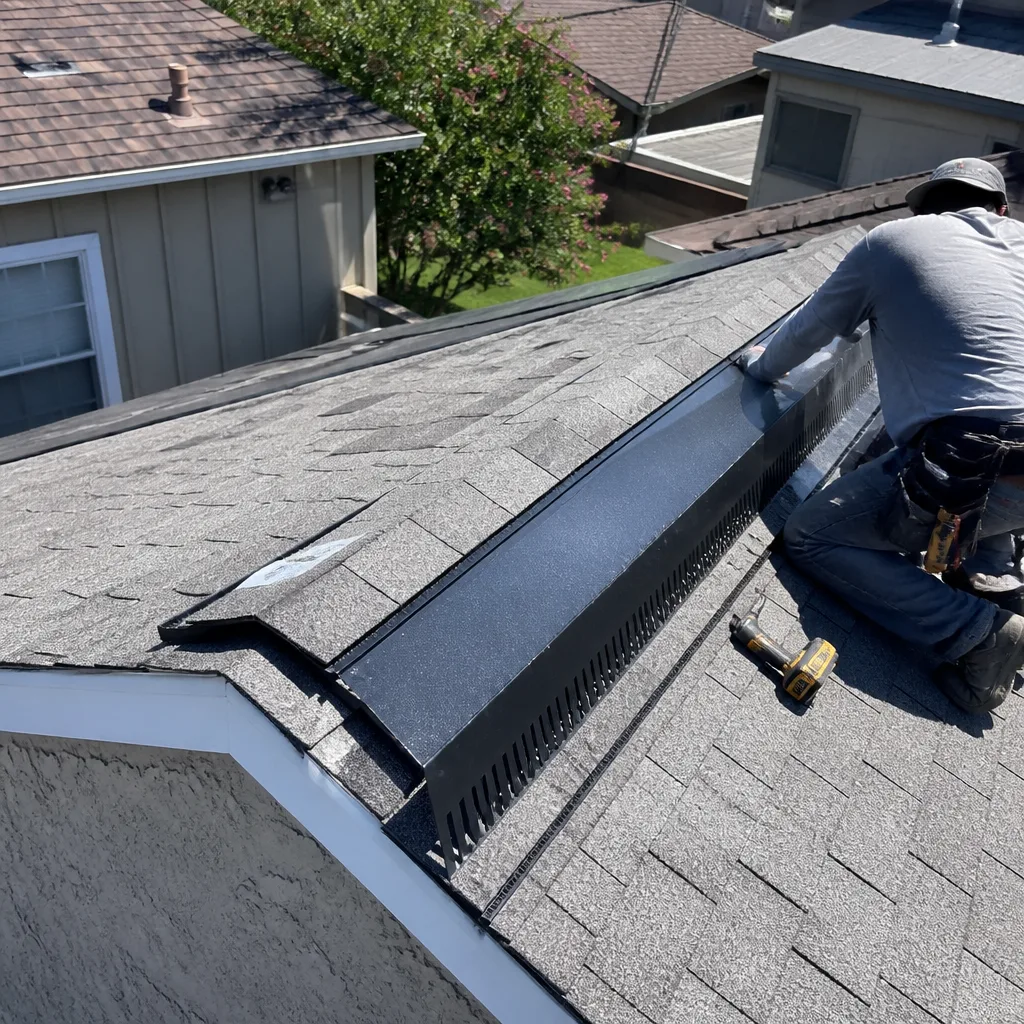 After
AfterRoof Repair Maintenance Schedule: What to Do and When
The average Los Angeles homeowner spends $4,200 on an emergency roof repair that Roof Repair Warning Signs Every Homeowner Should Know and a $275 annual inspection would have caught at the flashing stage. The math on preventive maintenance is unusually straightforward when you compare it to nearly any other home system. This guide lays out a season-specific maintenance schedule built for LA’s particular weather pattern - long dry stretches punctuated by Santa Ana winds and sudden hard rain - and walks through exactly what to check, when to check it, and which signs mean “monitor this” versus “call someone this week.”
Quick Answer
A roof repair maintenance schedule for Los Angeles homes means inspecting key failure points twice a year - once in late September before the first hard rain, and once in March after winter storms have passed - plus a quick visual check after any Santa Ana wind event over 40 mph. The five areas that fail first on LA homes are pipe boot flashings, chimney step flashing, valley metal, the lower edge of the roof where water exits, and any penetrations like vents or skylights. Most of what gets caught early costs between $275 and $600 to fix; most of what gets deferred three years costs between $3,000 and $8,000.
Table of Contents
- Why LA Roofs Fail Differently Than the Rest of the Country
- The Twice-Yearly Inspection Schedule
- The Five Repair-Prone Components to Check First
- What to Check After Santa Anas and the First Hard Rain
- Normal Wear vs. Active Deterioration: How to Tell the Difference
- The Printable Inspection Log Format That Protects Your Warranty
- What a Written Condition Report Should Include
- The Compounding Cost Model: Year One vs. Year Three
Why LA Roofs Fail Differently Than the Rest of the Country
Los Angeles doesn’t have a freeze-thaw season, doesn’t get ice dams, and doesn’t deal with months of continuous rainfall. That sounds like a roof-friendly climate, and in some ways it is. But the failure pattern here is specific, and homeowners from other parts of the country are often caught off guard by it. In LA, roofs don’t fail from accumulated snow load or persistent moisture. They fail from UV degradation, thermal expansion, and wind-driven rain that finds small openings and exploits them during the few intense storms we do get.
The sun is the biggest factor. Asphalt shingle roofs in Los Angeles take 300-plus days of intense UV exposure every year. Over time, the asphalt in shingles loses its oils, becomes brittle, and shrinks. Granule loss exposes the underlying asphalt to more direct sunlight, and the cycle accelerates. This is why a 30-year shingle in Minnesota often lasts close to its full rated life, while the same shingle in Los Angeles frequently needs serious attention by year 18 to 22. The materials from GAF, Atlas, and CertainTeed we work with are selected with this UV profile in mind, and a homeowner who knows this can plan replacement timing instead of getting surprised by it.
The second LA-specific factor is wind. Santa Ana winds routinely hit 40 to 60 mph in the foothills and canyon-adjacent neighborhoods, and they come from a different direction than our normal coastal airflow. Roof systems are lapped and sealed to shed water, not wind. When wind hits a roof from an unusual angle, it lifts shingle tabs and pulls at flashing. You often won’t see damage from the ground after a Santa Ana event. You’ll find it six months later when the next hard rain drives water under a lifted shingle and down into the decking.
We’ve done inspections in neighborhoods from Studio City to Sherman Oaks where the homeowner was confident the roof was fine because they’d had no leaks. The flashing had been compromised for two years, and the leak simply hadn’t penetrated far enough to show on the ceiling yet. By the time a leak shows on the ceiling drywall, the water has traveled through the decking, possibly the insulation, and possibly the top plate of a wall. The visible stain is the last stop, not the first.
The Twice-Yearly Inspection Schedule Built for LA
You don’t need to inspect your roof every month. You need two dates on the calendar, plus two event-based triggers. Here’s the schedule we recommend for every Los Angeles homeowner, and it’s the same one our techs use when they document a roof’s condition over multiple visits.
Late September: The Pre-Rain Inspection
- Clear debris from the lower edge and valleys. Dry leaves and palm fronds from late summer collect where water needs to exit. A blocked valley turns a $300 repair into a $6,000 decking replacement after one storm season.
- Check pipe boot flashings. The rubber boot around plumbing vent pipes degrades in constant UV. Late September is when you want to know if the rubber is cracked before the first hard rain, not after.
- Inspect step flashing along chimneys and sidewalls. Thermal expansion over summer opens small gaps. This is the most common source of “mystery leaks” that show up in November.
- Document everything with dated photos. Stand at the same corner each time so your records are consistent year over year.
- Test drainage. If you’re comfortable doing so safely, a quick look at the gutter outlets and downspouts tells you whether water will exit the roof or pool at the edge.
Mid-March: The Post-Winter Check
- Look for lifted shingle tabs. After the first rains and winter winds, tabs that were already loose will show visible lift.
- Check for granule accumulation in gutters. A tablespoon per foot is normal wear. A half-inch of granules across the gutter floor means the shingles are shedding faster than expected, and you may be looking at a repair-versus-replace conversation within two to three years.
- Inspect caulking and sealant at all penetrations. Skylights, vents, satellite mounts, and solar standoffs all have sealant that breaks down seasonally.
- Check the interior side of the decking, if accessible. From the attic, look for water staining, dark streaks, or daylight through the decking.
- Re-photograph everything from the same positions. Side-by-side comparison is the single most useful diagnostic tool for tracking slow deterioration.
Event-Based Checks: When to Add an Inspection
- After any Santa Ana event sustained above 40 mph. This is the wind speed at which we start seeing shingle lift in Los Angeles neighborhoods from Tarzana to Glendale.
- After the first hard rain of the season. The first storm tells you which seals held and which didn’t. Check the attic or highest interior ceiling for any new staining within 48 hours.
- After any work on the roof by other trades. Solar installers, HVAC techs, satellite installers, and gutter cleaners all walk on the roof. Foot traffic breaks brittle shingles and dislodges granules. If someone else was up there, do a quick check.
The Five Repair-Prone Components to Check First
Not every part of a roof fails at the same rate. In Los Angeles, the repair points below account for the large majority of what we fix. If you check nothing else, check these five. This list is also what our written condition reports reference, so homeowners know we’re looking at the same points on every visit.
1. Pipe Boot Flashings
The rubber boot that seals the plumbing vent pipe to the roof surface is the single most common repair point on LA homes. The rubber sits fully exposed to sun, and UV breaks down the polymer over 5 to 10 years depending on orientation. When it fails, water runs straight down the pipe and into the ceiling below. A replacement boot costs $275 to $475 installed in Los Angeles. A rotted deck section from a slow leak that ran for two winters costs $3,000 to $6,000 to repair properly.
2. Chimney Step Flashing and Counter-Flashing
Chimney flashing is a system of metal and sealant that has to absorb the thermal expansion of two different materials - brick and shingle - moving at different rates. In Los Angeles, where the temperature swings from 40 to 100 degrees across a year, this movement is constant. Hairline gaps between the step flashing and the brick open every summer and close every winter. That’s how water gets behind the flashing without any visible damage from the ground. Most chimney flashing repairs in LA run between $600 and $1,400, depending on chimney size and whether the counter-flashing needs to be cut out and replaced.
3. Valley Metal
Roof valleys handle more water than any other part of the roof - the entire drainage of two roof planes funnels through a single channel. Seamed valley metal eventually separates at the seams or corrodes at the joints. Los Angeles doesn’t get the volume of rain Seattle gets, but our rain comes in intense bursts. A valley that’s working at 85% capacity may handle a steady drizzle fine and fail during a two-hour downpour. If you see rust staining, separated seams, or missing fasteners in the valley, schedule a repair before winter.
4. The Eave Edge
The lower three feet of the roof is where most roof failures begin. Water hits the edge at its highest volume and highest speed. Starter shingles and drip edge take the abuse. In Los Angeles, the eave line also carries the added load of decades of UV baked into the shingle tabs at a slightly different rate than the main roof field. When tabs curl at the edge, water gets under them. Edge repairs are often localized and inexpensive - $350 to $800 for a typical LA home - but if left alone, the damage climbs up the roof plane one course at a time.
5. Penetrations
Skylights, attic vents, furnace flues, bathroom fans, and satellite mounts are all holes cut into a roof. Every one is only as good as the sealant and flashing around it. Silicone and caulk breakdown on a predictable schedule, especially in UV-heavy climates like LA. A tube of sealant costs $12. Re-sealing a single penetration costs $250 to $500. Ignoring it until water stains appear in the bedroom ceiling turns it into a multi-thousand-dollar repair that includes drywall, paint, and insulation.
What to Check After Santa Anas and the First Hard Rain
Santa Ana winds and first rains are the two weather events that reveal hidden roof damage in Los Angeles. Each one stresses a different part of the system, and each deserves a targeted check.
After a Santa Ana Wind Event (40+ mph)
Santa Anas are especially hard on roofs oriented northeast-to-southwest, which is the direction the wind travels through the passes and canyons. Check these in order:
- Shingle tabs along the windward ridge. Look for lifted edges, especially on the first few courses below the ridge cap.
- Ridge cap shingles. These are the most exposed shingles on the roof, and they take wind from both sides. A loose ridge cap lets water into the entire roof peak.
- Any loose granules in the gutters. Wind accelerates granular loss from already-fragile shingles.
- Tree branches resting on or scratching the roof. A six-foot palm frond swaying in a windstorm acts like sandpaper over a single spot on the shingle surface. Any branch that can touch the roof should be cut back.
- Flashing around roof-mounted equipment. Wind from an unfamiliar direction tests flashing that has only ever been wet-tested from the normal storm direction.
After the First Hard Rain
LA goes months without rain. The first storm of the season is not just a test of the roof; it’s a test of every seal, every pitch change, and every drainage path. Do this within 48 hours of the first meaningful rain:
- Check the attic or highest interior ceiling with a flashlight. Look for any darkening, moisture, or staining that wasn’t there in September.
- Watch the gutters during the next rain. Water should exit the downspouts freely. Overflow means a clog, and a clog means water backing up under the shingle course at the eave.
- Look at the roof surface after it dries. Areas that stay damp longer than surrounding sections indicate trapped moisture or moss - rare in LA but not impossible on shaded north-facing slopes in the hills.
- Listen for drips in exhaust vents. Some vent caps allow wind-driven rain to enter. This is fixable with a different vent cover, but first you need to know it’s happening.
Normal Wear vs. Active Deterioration: How to Tell the Difference
Every roof ages. Some aging is expected, and replacing a roof the first time you see normal granule loss would be wasteful. The skill is in knowing which conditions are worth monitoring and which ones need action this month. Here’s how to tell the difference.
Signs of Normal Wear - Document and Monitor
- Light, even granule loss. A thin layer of granules in the gutter is like tread wear on a tire. It’s the roof doing its job over time.
- Slight cupping or curling at shingle edges. Minor edge lift that stays stable year over year can be monitored. Compare photos; if it’s not changing, it’s not urgent.
- Faded color. UV grays out most shingle colors in LA. Fading alone is cosmetic and doesn’t indicate structural failure.
- Hardened but intact boot flashings. Rubber stiffens before it cracks. Stiff but uncracked can go another season or two.
- A few missing granules near the eave edge. Some loss at the drip edge is expected given the water velocity there.
Signs of Active Deterioration - Repair Now
- Cracks in the rubber boot that go through the full thickness. This is a current leak waiting for the next rain. A $300 repair today.
- Shingle tabs that have actually lifted or broken off. No longer a future concern. Water has open access now.
- Gaps between step flashing and the chimney or sidewall. You can see daylight through the gap. The seal is broken.
- Water staining on the underside of the decking. Past leaks that haven’t been addressed. The wood is already compromised.
- Visible rust on valley metal or fasteners. Corrosion is an active process; it doesn’t stop on its own.
- Granule loss that reveals shiny asphalt beneath. The shingle is now in accelerated degradation mode.
The single most reliable way to distinguish normal wear from active deterioration is to keep dated records and compare them. A hairline crack that hasn’t grown in 18 months is very different from a hairline crack that doubled in 18 months. The first is monitoring. The second is scheduling.
The Printable Inspection Log Format That Protects Your Warranty
Most roofing material warranties require the homeowner to maintain the roof and keep records. Most homeowners can’t produce those records when a claim comes up. An inspection log solves this, and it’s worth five minutes of your time twice a year. A dated log with photos serves three purposes: it satisfies warranty documentation, it supports an insurance claim if one is needed, and it gives any roofer a baseline for evaluating changes. Here’s the format we recommend, and it’s what our condition reports are built to support.
The One-Page Inspection Log: What to Record
- Date and time of inspection. Take the photo first, then note the date. Most warranty claims fail on missing dates.
- Weather conditions on inspection day. Clear and dry, post-rain, post-wind. This contextualizes what you’re seeing.
- Photos from the same three positions each time. Front corner, back corner, and the roof surface from a window or ladder if accessible. Consistency in photo position is more valuable than photo quality.
- A list of the five failure points, with a condition note for each. Pipe boots, chimney flashing, valley metal, eave edge, penetrations. One line each: “No change from March” or “New crack at boot on east dormer.”
- Any repair performed, with date, scope, and cost. Write down what was fixed, by whom, and what it cost. This is the record that proves maintenance was done.
- Next scheduled inspection date. Close the loop before you walk away.
After five years, you’ll have a complete history of your roof. When a storm does damage, you’ll be able to show what the roof looked like before the storm, which strengthens an insurance claim. When you sell the home, this log is a selling point. And when our techs come out for a maintenance visit, we can compare our notes to yours and give you a much more accurate picture of what’s changing over time.
What a Written Condition Report Should Include - and Why “You’re Fine” Isn’t Enough
A verbal “your roof looks good” tells you nothing. It doesn’t tell you what was checked, what condition each system is in, or what to watch for next year. A real condition report is written, dated, and specific. If you’ve hired a roofer for a maintenance inspection and they hand you a verbal summary, that’s not an inspection - that’s a drive-by. Here’s what a proper written condition report should cover, and it’s what we provide at Birchbark Roofing on every maintenance visit.
- Date of inspection and technician name. Someone should own the findings.
- Photos of each concern area. The photo should be clear enough that you can see the issue yourself, not just read a description of it.
- Condition assessment for each of the five failure points. Each one gets a specific note: intact, monitored, or recommended for repair.
- Specific repair scope if needed. Not “flashing needs work.” Instead: “Step flashing at chimney east side has a 3-inch gap at the third course. Recommended repair: reseal and refasten, with replacement of two shingle tabs. Cost: $X written quote attached.”
- Cost in writing if work is recommended. A scope without a price is a sales pitch. A scope with a written price is a proposal.
- Priority rating. Is the item urgent, needed before the rainy season, or safe to monitor for another year? A good report ranks each finding.
- Next recommended inspection date. This keeps the maintenance schedule running, not episodic.
We also note where the homeowner should keep an eye on things between visits. If there’s a branch that’s getting closer to the roof, or a downspout that’s been discharging water against the foundation, we write it down even if it’s not a roof repair. The report is a record of what’s happening on the roof and around it, not just a list of things we want to sell.
The Compounding Cost Model: Year One vs. Year Three
This is the section that matters most to your budget. Deferred maintenance on a roof doesn’t just postpone the cost - it multiplies it. The table below shows what happens to the five common failure points when caught early versus allowed to run for three years. The dollar ranges reflect what we typically see in Los Angeles, and they’re consistent with what roof repair in Los Angeles costs across reputable contractors.
Repair Cost If Caught in Year One vs. Year Three
- Pipe boot flashing: Year one repair runs $275 to $475. Year three, the leak has soaked through decking and drywall: $3,500 to $6,000.
- Chimney step flashing: Year one repair runs $600 to $1,400. Year three, water has rotted the plywood decking around the chimney and damaged the interior ceiling: $4,000 to $9,000.
- Valley metal: Year one repair runs $400 to $1,000. Year three, water penetrating at the valley has rotted decking across two roof planes: $5,000 to $10,000.
- Eave edge: Year one repair runs $350 to $800. Year three, moisture at the eave has worked backward under the shingle course and into the fascia: $2,500 to $5,000.
- Skylight or vent penetration: Year one re-seal runs $250 to $500. Year three, the leak has damaged drywall, insulation, and possibly the skylight frame: $2,000 to $4,500.
The pattern is consistent: catch it early, and you’re paying for a repair. Wait three years, and you’re paying for the repair plus the water damage it caused. A $275 inspection finds these issues when they’re cheap. The average emergency repair in Los Angeles, as noted at the top of this guide, runs $4,200. The math is not complicated.
Common Mistakes to Avoid
- Waiting for a visible leak before doing anything. By the time water shows on the ceiling, it has already passed through the decking and insulation. The visible stain is the end of the leak’s journey, not the beginning.
- Doing a visual check from the ground only. Most roof problems are not visible from the ground. Flashing gaps, boot cracks, and valley issues all require looking at the roof surface or getting into the attic.
- Caulking over cracked flashing instead of repairing it. Caulk is a temporary patch, and on a roof in the LA sun, it breaks down within a season or two. The underlying problem continues to grow.
- Skipping the post-Santa-Ana check because “the roof looked fine.” Wind damage is not always visible from the ground, and lifted shingles often lay back down after the wind stops. The damage is there, waiting for rain.
- Ignoring the attic as a diagnostic tool. The underside of the decking tells you more about roof health than the top of the shingles. Water staining, dark streaks, and visible daylight through cracks are all early warnings.
- Hiring a roofer who won’t provide a written condition report. A verbal “looks fine” is not documentation. If a warranty claim or insurance dispute ever arises, you need dated, written records. If the roofer won’t provide them, the inspection didn’t happen.
When to Call a Professional
Some maintenance you can do yourself with a ladder, a flashlight, and a camera. Some situations call for a trained eye and a written report. Call a professional if you see any of the following: active leaking, water stains on the ceiling or attic decking, visible daylight through the roof from inside the attic, shingles that have actually blown off or broken, large gaps in flashing, or granule loss that has exposed the underlying asphalt across a large area. You should also call if you’re uncertain about what you’re seeing and want a dated, documented baseline for warranty purposes. If you need a roof replacement in Los Angeles, we’ll give you a straight answer about whether repair still makes sense or replacement is the better long-term call. Birchbark Roofing offers free estimates in Los Angeles - call (424) 766-4937 to schedule one, and we’ll send a written condition report with photos and a written price before any work starts.
Frequently Asked Questions
A Los Angeles roof should be inspected twice per year - once in late September before the rainy season starts, and once in March after winter storms have passed - plus a quick check after any Santa Ana wind event over 40 mph. The September inspection catches the issues that will leak during winter rains; the March inspection catches the damage winter winds and rain may have caused. Most homeowners can do a basic version of these inspections themselves with a camera, a ladder, and a flashlight in the attic. Call (424) 766-4937 if you want a professional inspection with a written condition report; our estimates are free.
The first signs of roof damage in LA homes are usually cracked pipe boot flashings, lifted shingle tabs along the eave edge, granules accumulating in the gutters faster than normal, and hairline gaps in chimney step flashing - all covered in our Roof Repair Troubleshooting: Common Problems and How to Fix Them. None of these are visible from the ground, which is why most homeowners don’t catch them until a leak appears. If you can see broken or missing shingles from the ground, the damage is already advanced. A quick attic check with a flashlight after the first hard rain is one of the best early-warning systems available.
A roof maintenance inspection in Los Angeles typically costs $200 to $450, though many roofing companies including Birchbark Roofing offer free estimates that include a full visual inspection of the roof surface, flashing, and penetrations. The inspection should include a written condition report with photos and specific findings, not just a verbal summary. If the inspection identifies needed repairs, you should receive a written price for that work before any repair begins.
An old roof in Los Angeles is worth repairing if the underlying structure is sound and the failure points are localized - a boot flashing here, a chimney flashing there. If granule loss is widespread, shingles are brittle across multiple roof planes, or decking has already absorbed water in several areas, repair often becomes more expensive than replacement on a per-year basis. The turning point varies by roof and by material, and a good condition report will show you the math. Our roofing company in Los Angeles handles both repair and replacement, and we’ll give you a straight recommendation either way.
Prepare your roof for rainy season by clearing debris from valleys and eave edges, checking pipe boot flashings for cracks, inspecting chimney step flashing for gaps, re-sealing any failing penetrations, and testing drainage through the gutters and downspouts. Do this in September, before the first storm. The first hard rain of the season tells you which seals held and which didn’t, so check the attic within 48 hours after that first storm. If you find issues, call (424) 766-4937 for a written quote before the next storm finds them for you.
Most residential roof repairs in Los Angeles take between two and six hours on the roof, depending on scope. A pipe boot replacement is typically a two-hour job. A chimney flashing repair might take half a day. Larger repairs involving decking replacement can stretch into a second day. We schedule the work, show up when we say we will, and leave you with a photo of the completed clean-up before the crew leaves - shoe covers at the door, drop cloths through the hallway, and all debris cleared.
The Bottom Line
A twice-yearly inspection schedule for your Los Angeles roof isn’t about preventing every problem - it’s about catching the $300 flashing issue before it becomes the $8,000 decking replacement. The five failure points to watch are pipe boots, chimney flashing, valley metal, the eave edge, and any penetration through the roof. Keep a dated inspection log with photos from the same positions every time. When you hire a roofer, get a written condition report with a written price. And if unsure, call a professional. Most of what gets caught early costs under $600 to fix. Most of what gets deferred costs over $4,000. The schedule is simple. The savings are not.
Written by Erik Lindgren, Owner at Birchbark Roofing, serving Los Angeles since 2000.