
Last updated October 8, 2026
Free roof inspection with deck photos before we talk money - GAF and Owens Corning certified installation



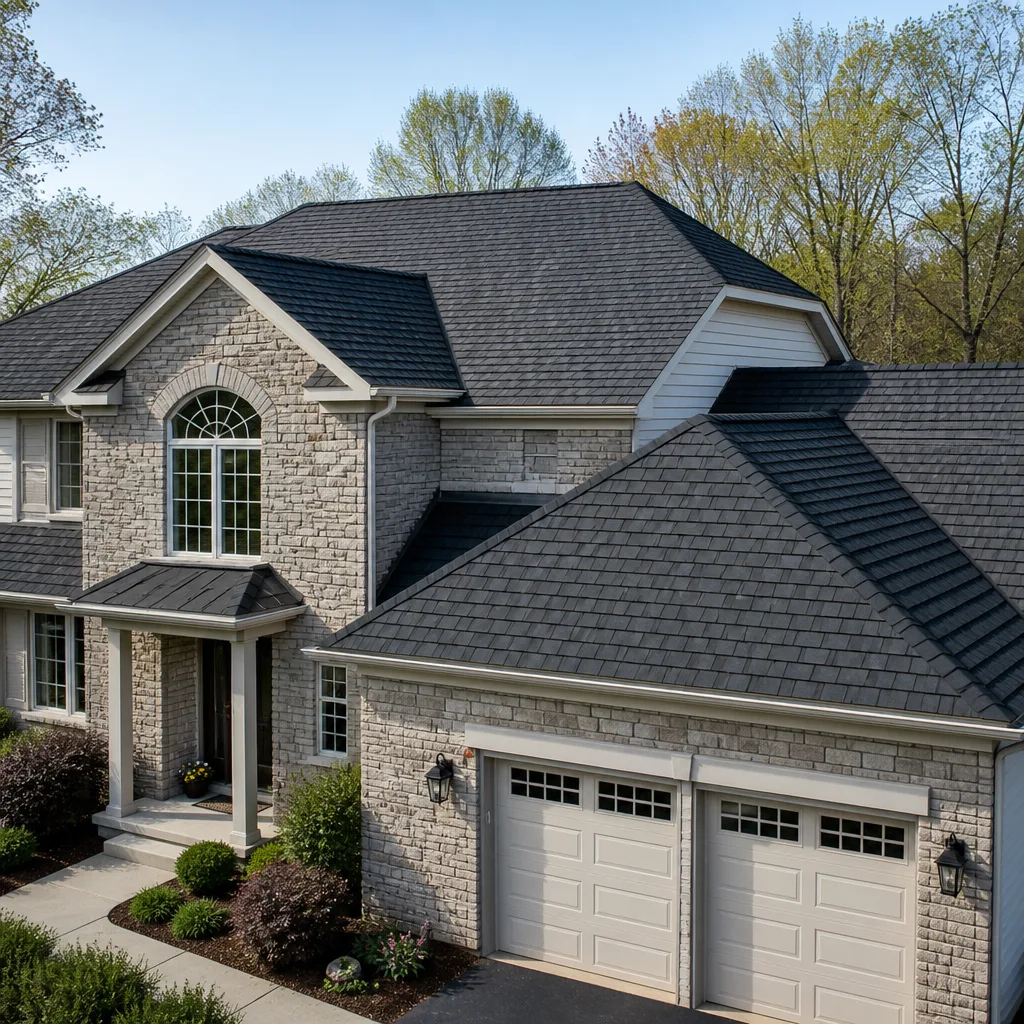

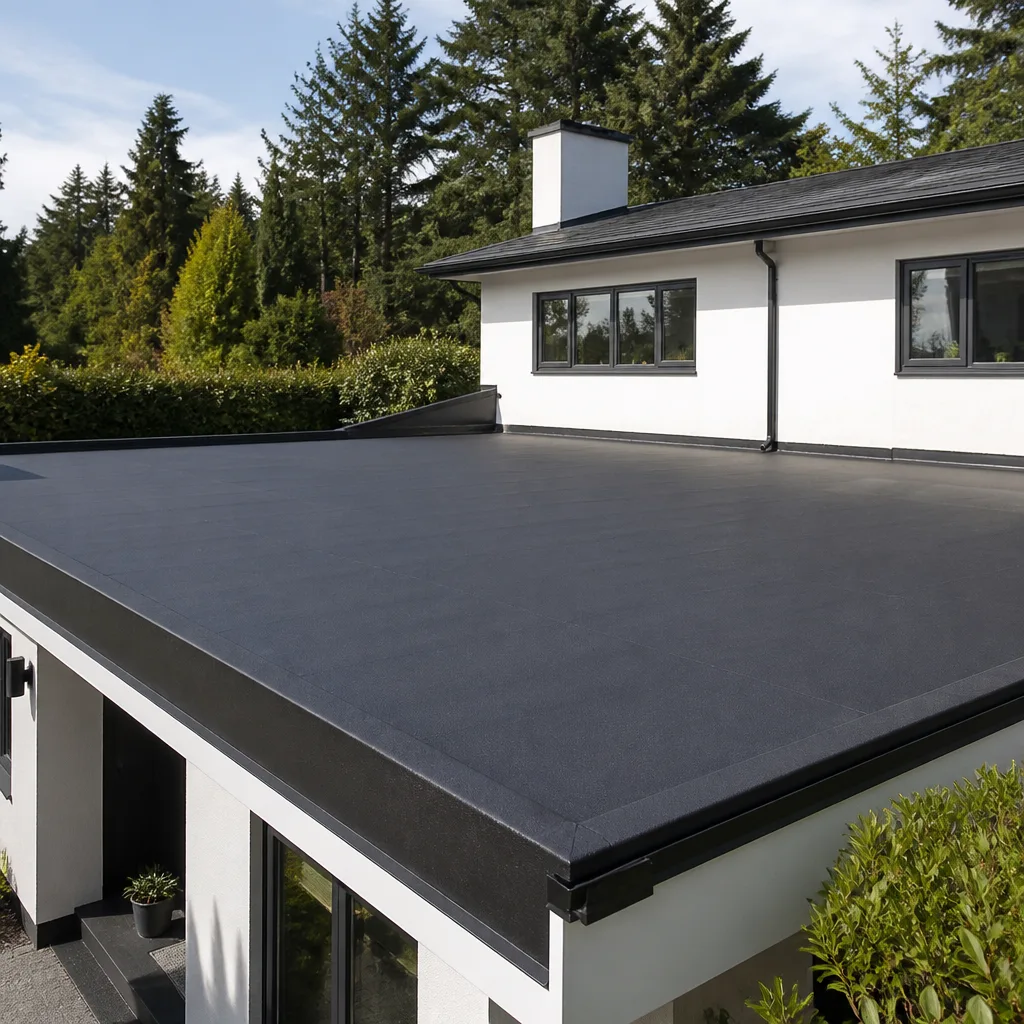
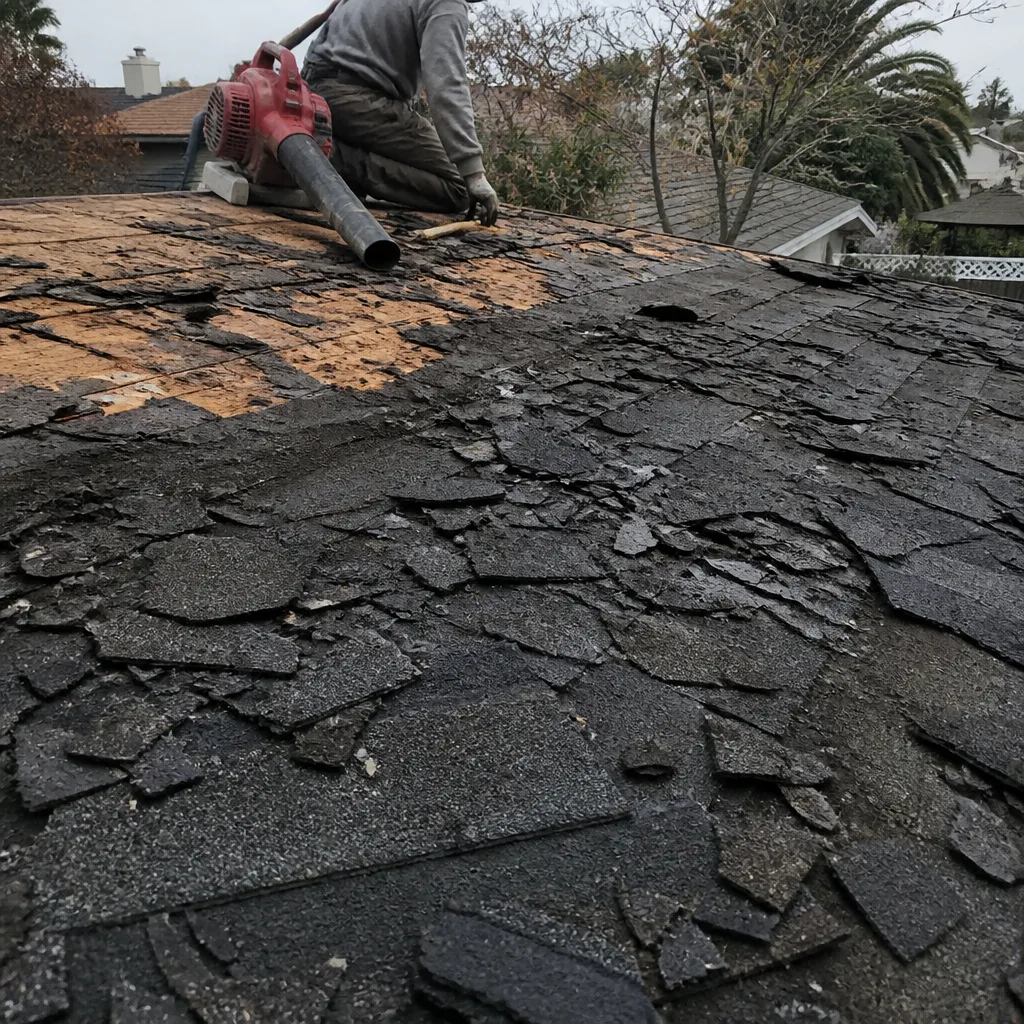 Before
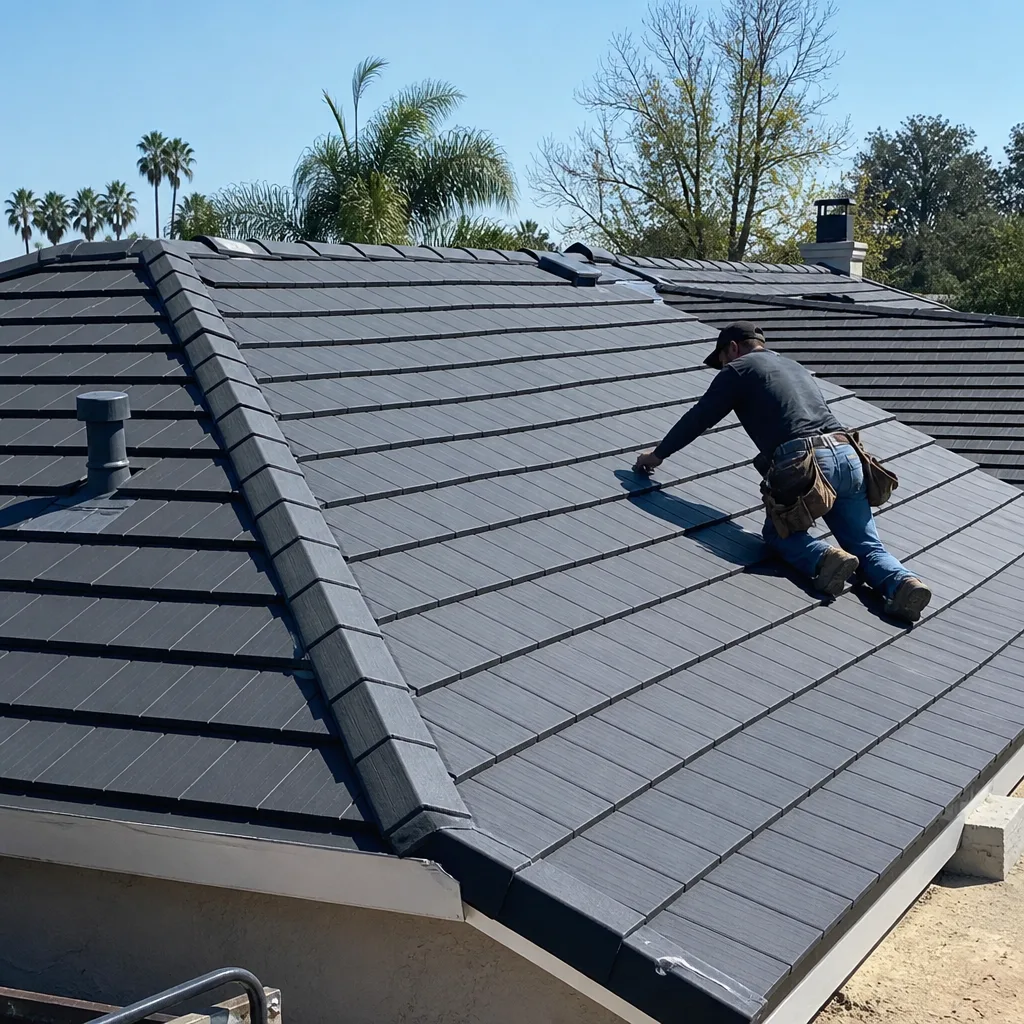 After
After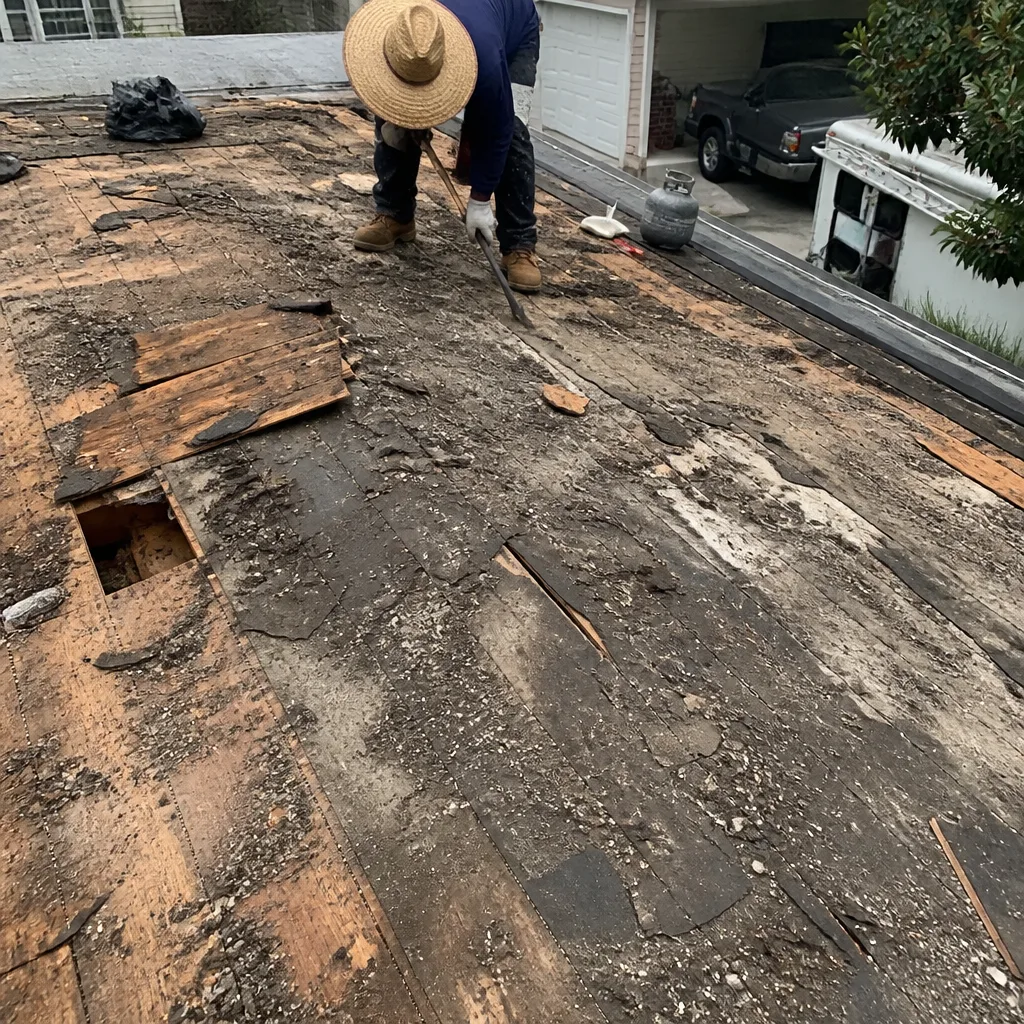 Before
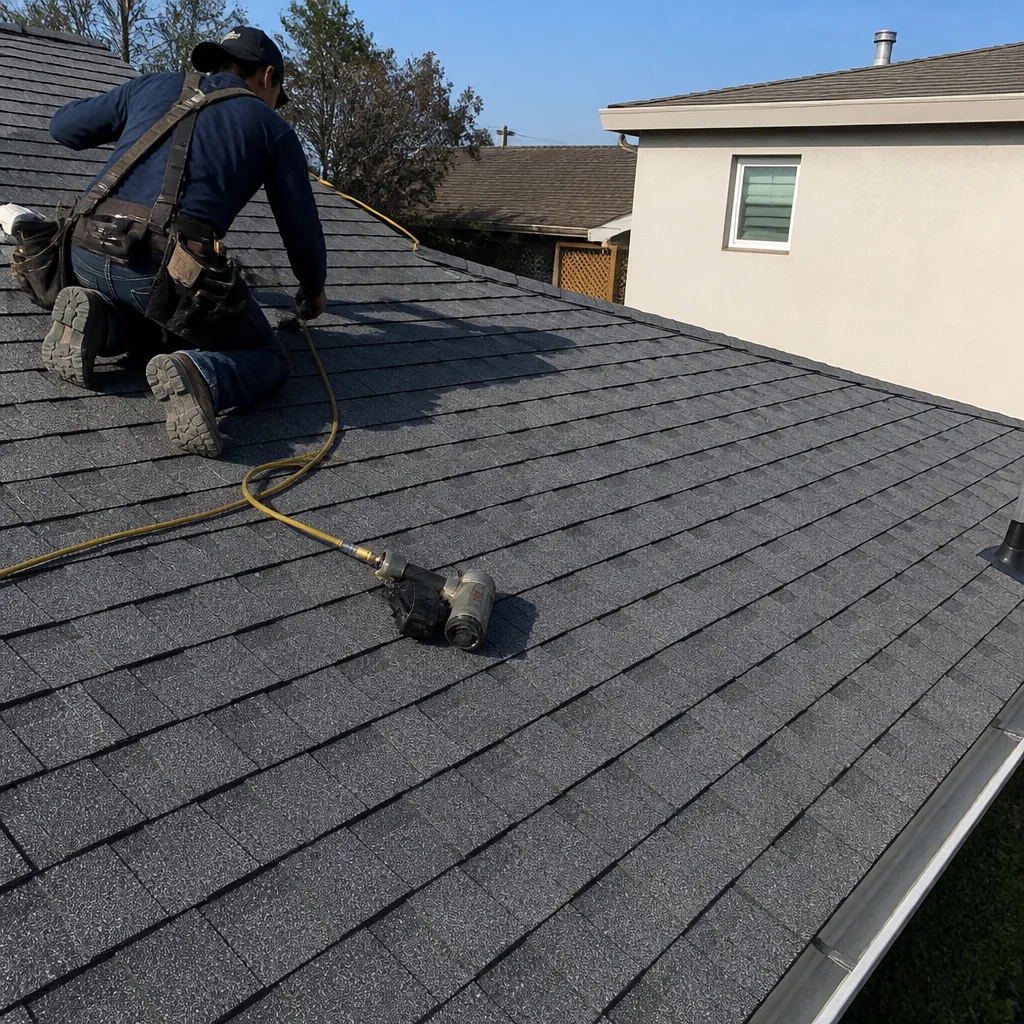 After
After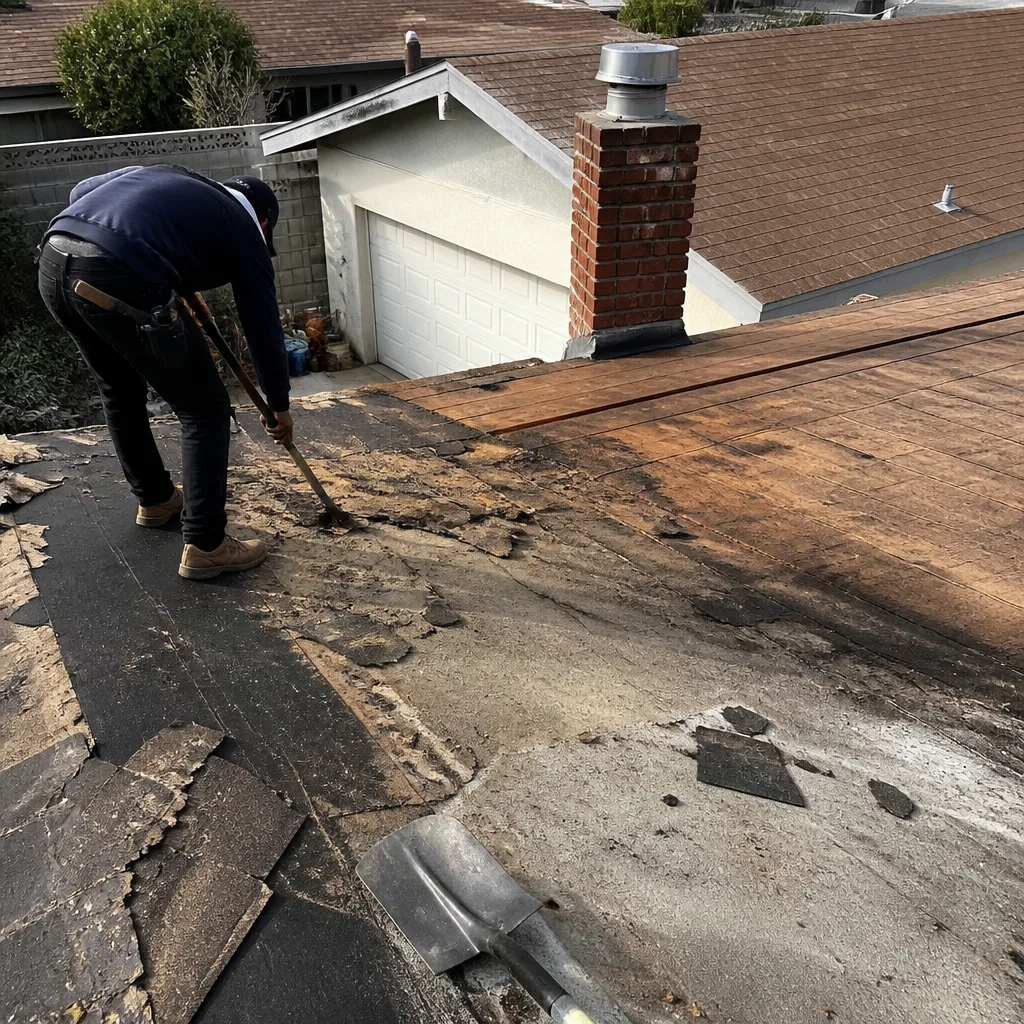 Before
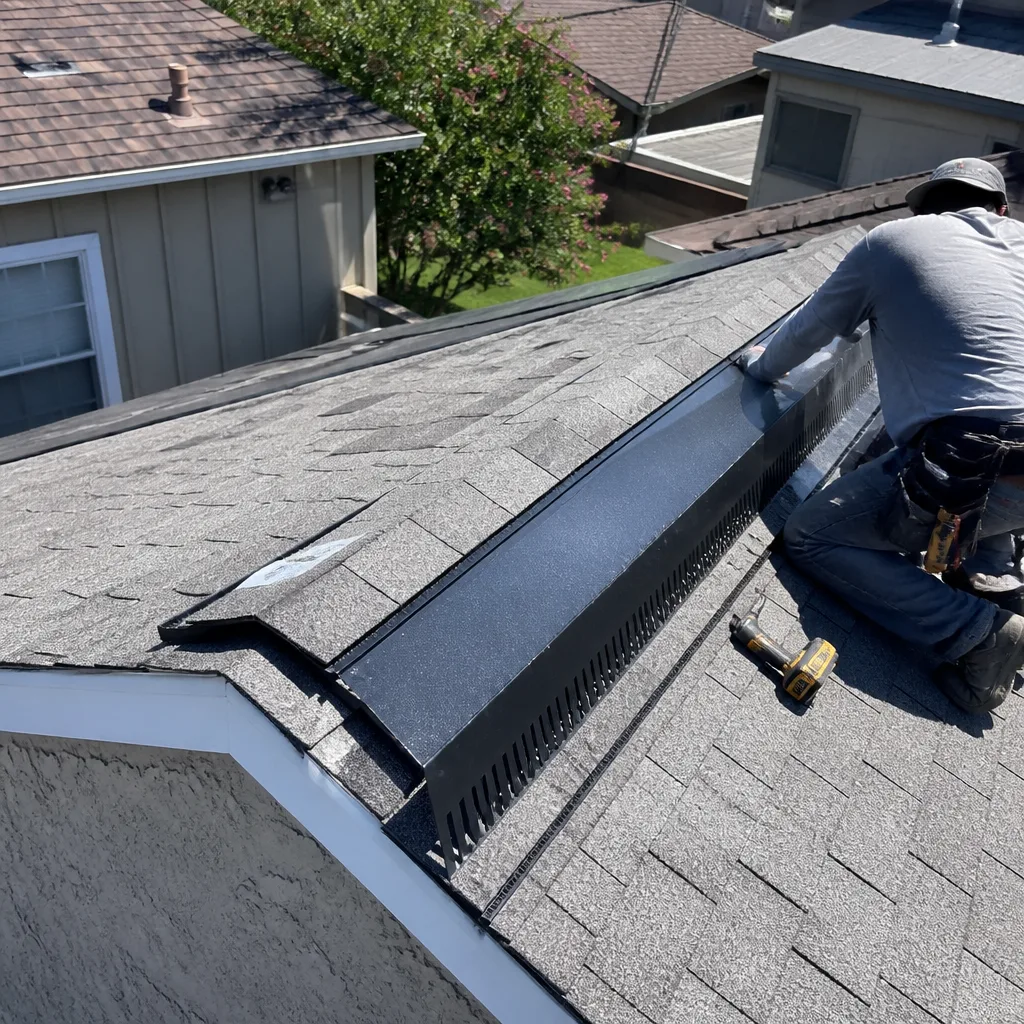 After
AfterRoof Repair Troubleshooting: Common Problems and How to Fix Them
The wet spot on your ceiling is almost never directly below where the roof is leaking. Water travels along rafters, slips between insulation batts, and follows the underside of sheathing for six feet or more before it finally gathers enough weight to drip. In Los Angeles, where months of dry heat bake roofing materials until they crack and then a single atmospheric river delivers an inch of rain in a day, homeowners discover leaks in the strangest places: a puddle in the hallway, a stain above the kitchen sink, a bubble forming in the bathroom paint. This guide gives you a systematic, interior-to-exterior tracing method so you can find the real source before you call a roofer, plus the repair options, the temporary fixes that help, and the two “fixes” that make things worse. For Roof Repair Warning Signs Every Homeowner Should Know, see our dedicated guide.
Quick Answer
To find where your roof is leaking, start inside the house and work upward and outward: mark every stain or drip with chalk, then trace the path of the water back from the visible mark toward the roof deck using a flashlight, looking for the highest point of moisture. In Los Angeles, the five most common leak sources are pipe boot seals, parapet wall flashings, skylight perimeters, valley junctions, and ridge cap gaps. Once you’ve identified the likely source, call a qualified roofer for Roof Repair services and get a written diagnosis and price before any work begins.
Table of Contents
- Why Water Travels: The Physics of a Roof Leak
- Step-by-Step Interior Tracing Method
- The Five Most Common Leak Sources in Los Angeles
- How to Communicate a Suspected Leak Location in Writing
- Temporary Emergency Measures That Help (and Two That Hurt)
- How to Tell If a Repair Held
- Common Mistakes to Avoid
- When to Call a Professional
Why Water Travels: The Physics of a Roof Leak
Roof leaks are rarely vertical. Water that breaches the roof surface will run along the steepest available path, and the underside of roof sheathing is not flat. It has seams, overlaps, and nail penetrations. Rafters create channels. Insulation batts act like sponges, holding water for days before releasing it. The result is a leak that enters at the ridge line and drips ten feet away at the ceiling joist near an exterior wall. Roofers in Los Angeles see this constantly, because the city’s flat and low-slope roofs compound the problem. On a low-slope roof, water doesn’t rush off; it ponds, migrates sideways, and follows the path of least resistance through overlapping felt layers. Add in Southern California’s unique cycle of six rainless months followed by sudden deluges, and materials that were fine in September fail spectacularly in January. Understanding this travel behavior is the single most important insight in roof repair troubleshooting. It changes how you search.
Step-by-Step Interior Tracing Method
Before calling a roofer, do this tracing exercise. It takes thirty minutes and will focus the diagnostic visit so your estimate reflects the actual problem, not a vague “water somewhere” search.
What you need: a bright flashlight, a piece of chalk or painter’s tape, a step ladder, and a digital camera or smartphone.
Step 1: Mark every visible sign
Start at the most obvious stain. Circle it with chalk or mark its boundary with tape. Note whether the stain is dark (active water), white (old, dried minerals), or yellow-brown (repeated wetting over time). Photograph each mark.
Step 2: Look for the highest point of moisture
From the ladder, inspect the ceiling closely with the flashlight. Look for the part of the stain that looks wettest or highest on the sloped ceiling. If the ceiling is flat, look for faint water lines or tide marks that indicate which direction the water traveled.
Step 3: Move upward and outward
Stand on the floor beneath the stain and imagine a six-foot cone extending upward and outward from the mark toward the roof. Water rarely travels straight down; it slides along the underside of plywood so the source is usually higher on the roof and farther toward the eaves or the ridge. In rooms with vaulted ceilings, the source can be ten or twelve feet away horizontally.
Step 4: Check the attic
If you have an attic, go up with the flashlight. Turn off any artificial light. Look along rafters and sheathing for dark streaks, water trails, or mineral deposits. Mark each with tape. The highest trail is the source; everything below it is downstream.
Step 5: Trace to the exterior
Use the attic trail to identify which part of the roof is above the highest wet spot. Then go outside and visually inspect that area from the ground. Look for cracked pipe boots, rusted flashings, missing shingles, or gaps in the ridge cap. Note the distance from the nearest chimney, vent pipe, or wall junction. Those are your likely culprits.
In our experience repairing roofs across Los Angeles, this method turns a two-hour search into a twenty-minute diagnosis. Homeowners who hand us a chalk-marked path find out the problem and the price in one visit, not three.
The Five Most Common Leak Sources in Los Angeles
Every city has its own leak profile, based on climate, housing stock, and building codes. Here are the five leak sources we see more than anything else on Los Angeles roofs, ranked by frequency.
1. Pipe boot seals
The rubber boot that seals the plumbing vent pipe to the roof surface degrades under UV exposure. Los Angeles receives an average of 284 sunny days per year, and rubber has a hard time with that. After five to eight years, the boot cracks, shrinks, or splits. The leak usually appears near a bathroom or kitchen ceiling because that’s where vent pipes cluster. A replacement boot costs between $65 and $180 installed, depending on the roof type.
2. Parapet wall flashings
Many Los Angeles homes built in the 1920s through 1950s feature flat roofs with parapet walls. The metal flashing that ties the roof membrane to the stucco or brick parapet is a constant failure point. Thermal expansion moves the metal, the sealant cracks, and water slips behind the wall. Homeowners often don’t notice until paint blisters on the interior wall below the parapet. Repairs typically range from $350 to $900 per affected section.
3. Skylight perimeters
Skylights leak at the curb or the flashing more often than they leak through the glass. In Los Angeles, the issue is often the sealant bead drying out after years of sun exposure. The fix is usually re-flashing or re-sealing, not replacing the skylight itself. A professional re-seal runs $150 to $400 per skylight.
4. Valley junctions
Where two roof planes meet, water flows heavily and fast. The metal or woven shingle material in the valley takes more hydraulic force than any other part of the roof. Leaves, twigs, and that fine black dust that settles on Los Angeles roofs during Santa Ana winds can create dam points in the valley, forcing water sideways under the shingles. Regular valley cleaning and checking the flashing condition prevents most valley failures. A valley repair costs $300 to $800 depending on roof pitch and material.
5. Ridge cap gaps
The ridge cap is the row of shingles or tiles covering the peak of the roof. Wind, age, and failed adhesive create gaps and exposed nails. Because Los Angeles sits at the eastern end of the Pacific storm track and gets punched by dry offshore winds, ridge caps take a beating. Water entering through the ridge often travels down rafters for a long way before surfacing, which makes this one of the most misdiagnosed leak sources. Ridge cap repair costs $250 to $600 for a typical repair.
Keep in mind that these are probable sources given the symptoms. A professional inspection with written findings is the only way to confirm before money is spent. Birchbark Roofing works with materials from IKO, Atlas, and Tamko, so when a repair involves matching existing shingles or tiles, we can usually source the right product without a full replacement.
How to Communicate a Suspected Leak Location in Writing
Homeowners can save time and money by sending a written description of the leak before the roofer arrives. A focused diagnostic visit produces a focused estimate. Here’s what to include, in writing, whether by email or text:
- Interior marks: number of stains, room locations, ceiling or wall, approximate size of each mark, and whether each is active (wet) or old (dry).
- Highest point traced: where you found the highest moisture point in the attic or on the ceiling, measured from the nearest identifiable exterior feature (vent pipe, chimney, wall).
- Timing of first notice: when you first saw the stain, which rain event preceded it, and whether it has recurred since.
- Roof access observations: anything you noticed from the ground looking up: missing shingles, lifted tiles, cracked pipe boot, debris in a valley.
- Photos: at least three: the ceiling stain, the attic trail if visible, and the corresponding roof area from the ground.
This written summary lets a roofer know whether to bring a ladder sized for a two-story access, whether tile or asphalt materials are likely needed, and whether the problem is urgent or deferred. For homeowners calling Roof Repair in Los Angeles service, a simple email with these five points means the diagnostic visit is spent confirming the source, not searching for it.
Temporary Emergency Measures That Help (and Two That Hurt)
When a Los Angeles rain event is dumping water and the ceiling is staining, you need to slow the damage until a roofer can get on the roof. Some temporary measures genuinely help. Two common ones make the permanent repair harder.
What helps:
- Interior tarps and buckets: Place a bucket under the active drip. Lay a plastic tarp over furniture and floors in the wet zone. This contains the damage and gives you a clear picture of whether the leak is increasing or slowing.
- Mark the wet boundary with tape: Every hour, mark the expanding edge of the stain with painter’s tape. This gives the roofer a time-stamped record of how fast water enters.
- Clear roof drains and gutters if safely accessible from the ground: A clogged drain causes ponding that overflows the flashing. Clearing leaves from a gutter with a hand tool while standing safely on the ground is reasonable. Do not climb onto the roof in the rain.
- Photograph everything: Document the stain, the attic trail, and the exterior roof area. These photos support your insurance claim if one applies.
What makes it worse:
- Plastic sheeting nailed over the roof surface: This seems logical but creates a channel that redirects water sideways into every adjacent seam and penetration. We’ve arrived at homes where a homeowner’s roof tarp had doubled the wetted area. The permanent repair then costs more.
- Spray sealants or roof cement applied in the rain: These products cannot bond to a wet surface. You’ll pay for the material, it will peel off, and the residue will interfere with the proper repair later. Also, some products are not compatible with the roofing membrane material, which creates the exact problem you’re trying to solve.
If the leak is active and you cannot get a roofer immediately, the interior tarp-and-bucket method is the safest, most effective temporary containment. It protects your home and does not complicate the eventual repair.
How to Tell If a Repair Held
The repair may be complete, but you will not know for certain until the first real rain. Los Angeles rainfall is sparse, so you may wait months between the repair and the test. Here’s how to check, and what to document if the repair fails.
At the first rain after the repair:
- Check the original stain first. It should be dry. If the ceiling was not repainted, the old stain will still be visible but should show no new growth. Mark the boundary with tape before the rain and check for expansion after.
- Check the attic at the same marked area. The previously wet sheathing should be dry to the touch. If you left tape markers from the original trace, they should be unchanged.
- Check for new marks. Water may have entered at the repaired point but traveled differently. Look at adjacent ceiling sections and walls.
- Photograph everything again. A dated photo of a dry stain after rain is your proof that the repair worked.
If the stain has expanded or a new mark has appeared, document the changes and call the original roofer with your photo timeline. Under Birchbark Roofing’s 365-Day Done Right Promise, if the work isn’t right, we make it right. That guarantee covers every repair and replacement we perform. You should expect the same from any roofer you hire.
Common Mistakes to Avoid
- Pointing to the ceiling stain and treating it as the leak location. Water travels. The stain is where the water surfaced, not where it entered. Chasing the stain sends your roofer to the wrong roof section.
- Caulking the interior surface. Interior caulk or sealant will not stop a roof leak. It traps moisture behind the ceiling material and accelerates rot and mold growth.
- Ignoring a small stain because it stops after the rain ends. In Los Angeles, a leak that appears during a storm and disappears afterward is a chronic leak. The water is entering every time it rains and the damage is accumulating inside the roof assembly.
- Using a pressure washer on tile or shingle roofs while looking for leaks. This forces water under tiles and grants, creating new leak paths. Roof leaks are diagnosed by inspection, not by simulated rain.
- Walking on tile roofs without proper technique. Broken tiles create new leaks and void the remaining useful life of the roof. Roof access during a leak investigation should be done by someone who knows how to distribute their weight on the specific tile or shingle type.
- Hiring a roofer who will not provide a written price before starting. In Los Angeles, any reputable roofer can quote a repair before the work begins. A verbal estimate that changes after the job is done is a failure of process, not an unavoidable business practice.
When to Call a Professional
Call a roofer when the leak source is not identifiable from the interior trace, when the roof pitch is too steep for safe ground-level inspection, when the leak involves more than one interior location, or when the roofing material is tile or slate where walking on it requires specific technique. Also call a professional if the leak is active and spreading quickly, if you have no attic access to trace the path, or if sagging is visible near the wet area, which can indicate structural damage. Roof Replacement in Los Angeles is sometimes the better option when a roof has multiple recurring leaks or the sheathing under the roof surface has been wet multiple times. Birchbark Roofing offers free estimates in Los Angeles. Call (424) 766-4937 and a live person answers, day or night. We’ll schedule a diagnostic visit and give you a written price before any work starts.
Frequently Asked Questions
Start inside the house and trace the water path upward and outward from the visible stain using a flashlight and chalk, because water travels along rafters and sheathing before it drips. In Los Angeles, the source is usually higher on the roof and closer to a roof penetration than the stain. Call (424) 766-4937 for a free leak inspection if the source is not obvious from the interior trace.
Most residential roof leak repairs in Los Angeles range from $250 to $900 depending on the source, with pipe boot replacements at the lower end and parapet flashing repairs at the higher end. You’ll see your exact number in writing before any work starts. Call (424) 766-4937 for a line-item quote.
Temporary interior containment with tarps and buckets is safe and effective, but permanent repairs on a roof surface should be done by someone with proper training, especially on steep pitches or tile roofs where footing is critical. We always recommend a professional repair because the cost of failed DIY work often exceeds the original repair cost.
A typical single-source roof leak repair in Los Angeles takes one to three hours once the source is identified and materials are on hand. Most repairs are completed in one visit.
In many cases, yes. Birchbark Roofing works with materials from IKO, Atlas, and Tamko, among other brands, which allows us to match existing products accurately for most Los Angeles roofs. Exact matching depends on the age and condition of the existing material.
Document the new leak with photos and measurements, note whether the original stain has expanded or a new mark has appeared, and contact the original roofer with your photo timeline. Reputable companies stand behind their work. Birchbark Roofing’s 365-Day Done Right Promise means if the work isn’t right, we make it right.
The Bottom Line
Roof leak troubleshooting is a tracing exercise, not a guessing game. The stain is the end of the water’s journey, not the beginning. Work from the interior mark upward and outward, note the highest point of moisture, and use that to focus your exterior inspection on the likely source: pipe boots, parapets, skylights, valleys, or ridge caps. Document everything in writing and photos. Avoid the two temporary “fixes” that compound the problem. Then call a professional who will confirm your traced source, give you a written price, and stand behind the repair. If you’re in Los Angeles and need help, Birchbark Roofing home services are a call away at (424) 766-4937. We’re part of the Cedarwell family of independent local roofing businesses since 2000, and we answer the phone with a live person every time.
Written by Erik Lindgren, Owner at Birchbark Roofing, serving Los Angeles since 2000. Explore more guides & resources on our blog.