
Free roof inspection with deck photos before we talk money - GAF and Owens Corning certified installation
 Before
 After
After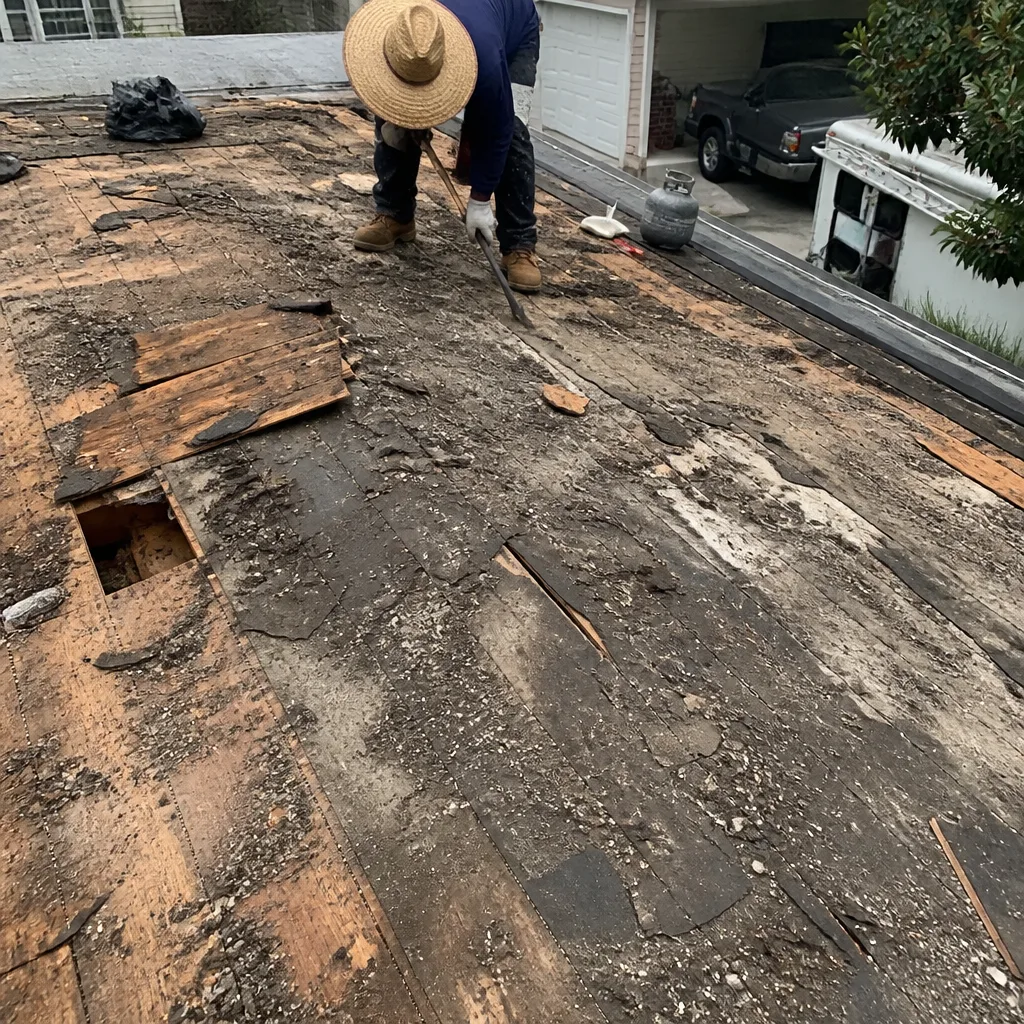 Before
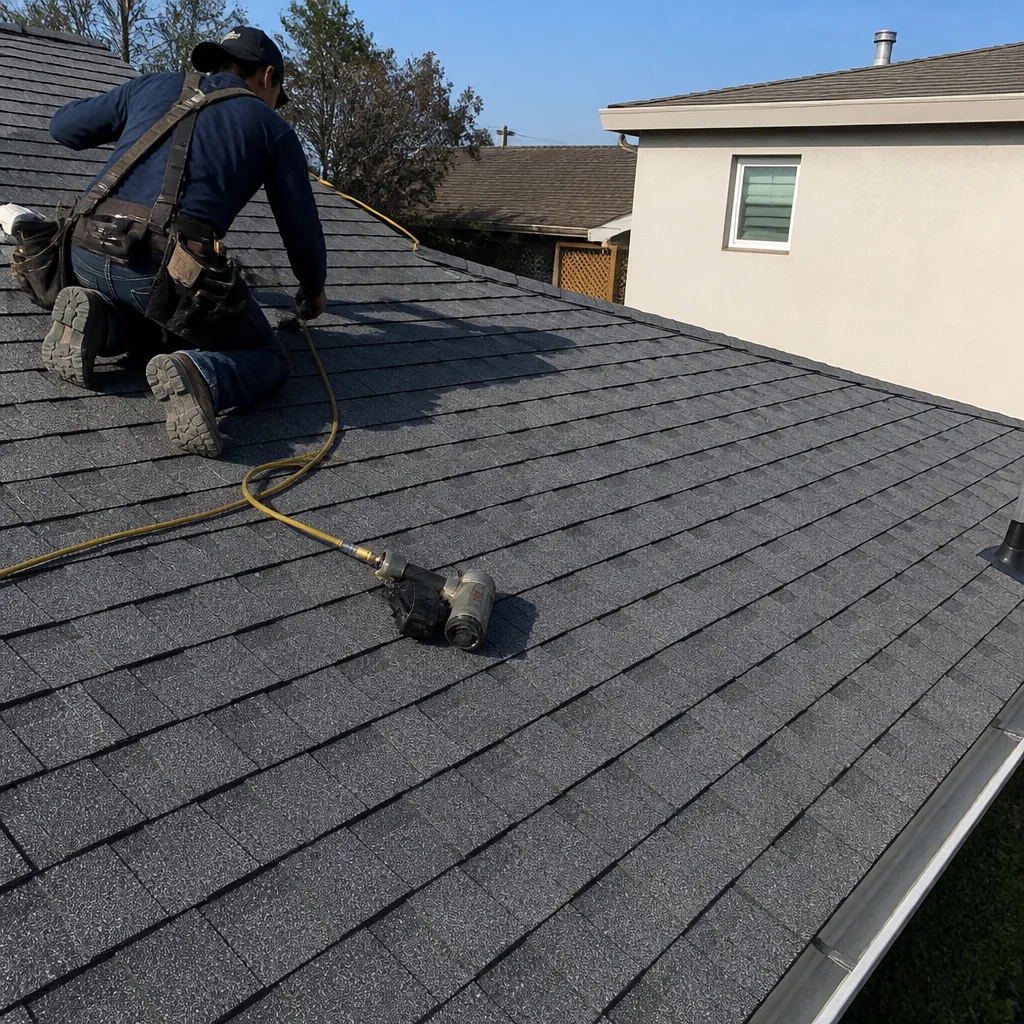 After
After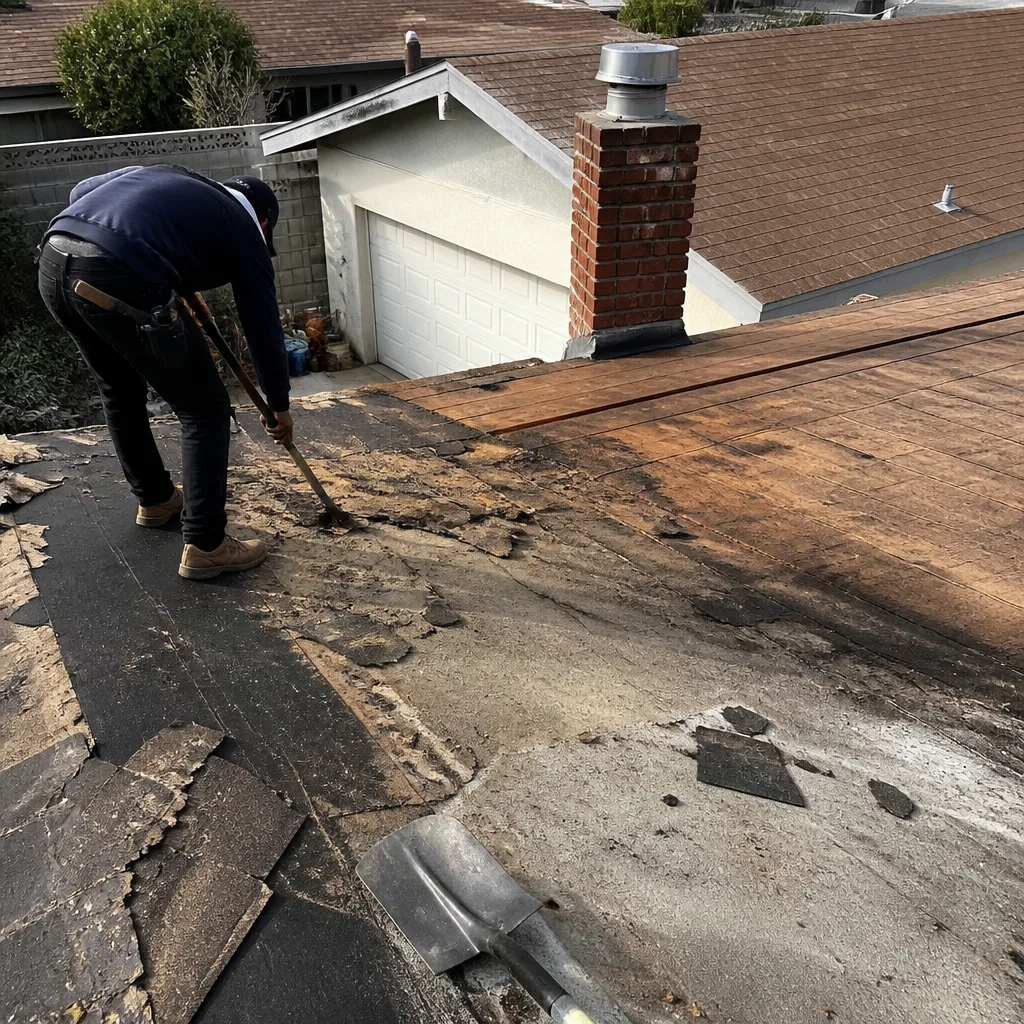 Before
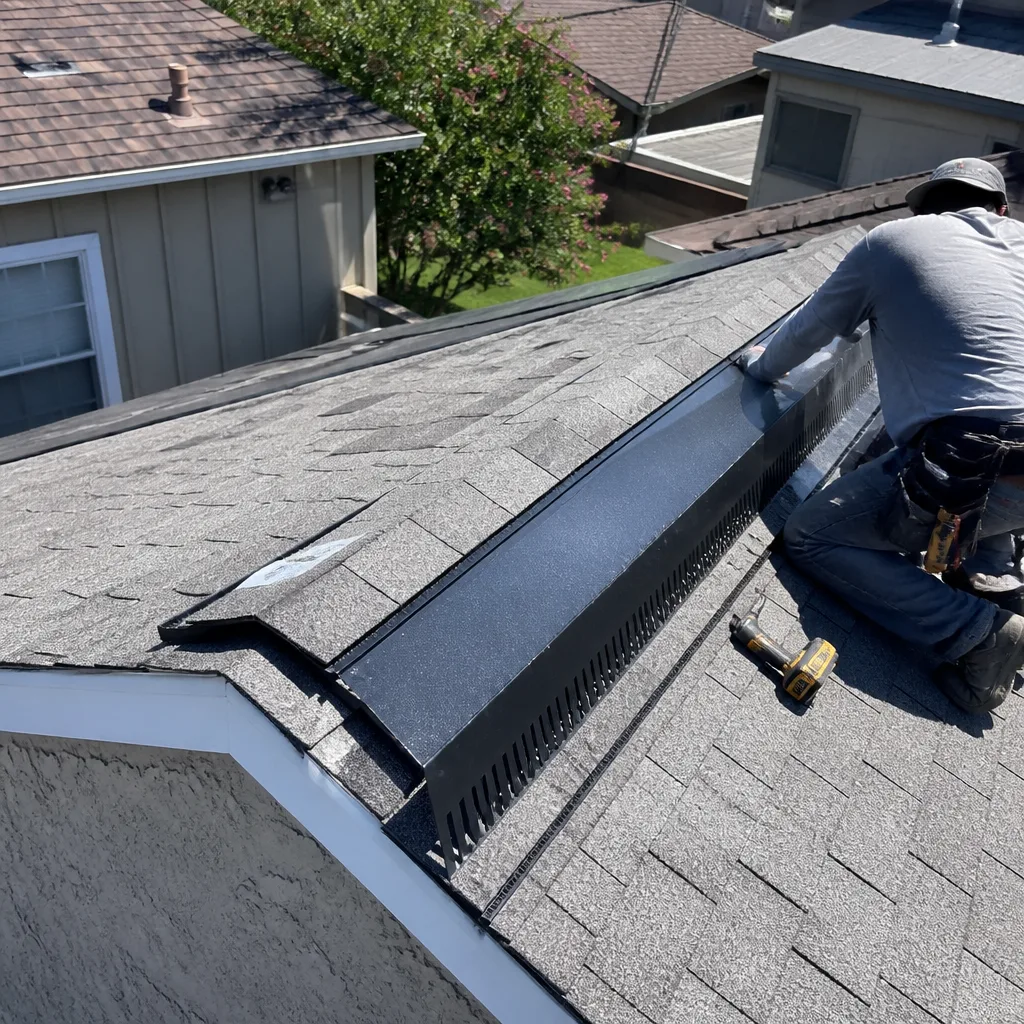 After
AfterTamko Flashing Replacement: The Los Angeles Owner’s Guide
We stock and install Tamko-compatible flashing replacement across Los Angeles, with most residential jobs running between $450 and $1,100 installed depending on how many penetrations are involved and which flashing series your roof uses. We carry OEM Tamko flashing and quality aftermarket equivalents on our trucks, so most repairs happen in a single visit. The way homeowners usually find us is simple: a dark stain appears on the ceiling after the first real rain of the season, or a chimney flashing lifts during a Santa Ana wind event and suddenly the roof is leaking where it never leaked before.
Flashing is the roof’s most thankless part. Shingles get the credit, but flashing does the actual work of keeping water out at every joint, valley, wall tie-in, pipe, and chimney penetration. When Tamko flashing fails, it’s almost never the metal itself that gave up. It’s the sealant bond, the fastener points, or a wrong-sized replacement part from a previous repair. We’ll walk through exactly how to tell what you’re dealing with.
Which Tamko Models This Applies To
Tamko flashing components are engineered to pair with their shingle lines, but the flashing itself is largely universal within each product family. If you have Tamko Heritage, Heritage Proline, Elite Glass-Seal, or Titan XT shingles, the flashing we install matches the profile and color depth of those systems. The bigger compatibility issue is at the penetration points, not the shingle field. Tamko’s vent pipe flashing comes in 1½-inch and 2-inch throat sizes for standard plumbing stacks, and we see mismatched sizes on Los Angeles homes all the time, usually because a previous contractor used whatever was rolling around the truck bed.
Here’s the gotcha that matters: Tamko’s step flashing and counter-flashing dimensions need to match the exposure of the shingle course. If your Heritage shingles are installed at a 5⅝-inch exposure, the step flashing needs a 5-inch vertical leg minimum. Install 4-inch step flashing on that roof and every wind-driven rain in Los Angeles will find the gap. We measure before we order anything. As an independent roofing contractor, Birchbark Roofing is not affiliated with Tamko, but we work with their materials regularly and stock the common flashing sizes for their most popular Los Angeles installs. We also carry flashing for GAF, Owens Corning, and CertainTeed systems, so if you’re unsure what’s under those shingles, we can identify it on site and match it.
For the OEM versus aftermarket decision: Tamko’s factory flashing is good metal, typically 28-gauge galvanized or aluminum depending on the application. But for most Los Angeles homes, a quality aftermarket 26-gauge galvanized step flashing or a lead-free aluminum pipe collar does the same job at a better price and often with a thicker gauge. We’ll give you both numbers in writing and explain the trade-off before anything gets nailed down.
Signs Your Tamko Flashing Replacement Is Failing
- Water stains on ceilings or walls near an exterior wall or chimney. This is the classic symptom and it almost always traces back to a flashing joint that’s separated. The stain often appears a few feet away from the actual leak because water travels sideways along a rafter before dripping.
- Lifted or curled flashing around a chimney or skylight. Los Angeles heat cycles cause the sealant under counter-flashing to dry and crack, then wind gets under the metal and peels it up. If you can see daylight between the flashing and the brick, water is already getting in.
- Granules from your Tamko shingles collecting in gutters near a valley or wall tie-in. This tells us water is pooling at the flashing line and accelerating shingle wear at the seam. The flashing might not be fully failed yet, but the surrounding shingles are telling you it’s close.
- Rust or corrosion on exposed flashing. Los Angeles doesn’t deal with snow load, but we do get marine layer moisture near the coast and smog-driven acidity in the Valley. Once the galvanized coating is compromised, the rust-through on 28-gauge flashing can happen within a few winters.
- A previous patch job that keeps coming back. If a contractor has already caulked, tarred, or re-sealed the same flashing twice, the problem is almost certainly the flashing geometry or the fastener pattern, not the sealant. Repatching a failed flashing is just renting time.
Replacement Cost & What’s Included
In Los Angeles, expect to pay between $450 and $1,100 for a typical Tamko flashing replacement on a single-family home. A simple pipe collar or vent flashing swap on a one-story with easy access runs on the lower end. A chimney with full counter-flashing replacement, step flashing along a sidewall, or multiple penetrations pushes toward the higher end. If we’re into valley flashing replacement with shingle rework, you’re looking at $1,200 to $2,400 depending on the linear footage.
Here’s what that number includes with Birchbark: the flashing itself, the sealant and fasteners, the labor to remove and reinstall the surrounding shingles correctly, and haul-away of the old metal. You’ll get a written price in dollars before any work starts, and that number doesn’t change unless we open the roof and find something genuinely hidden, at which point we stop and show you photos before doing anything else. The work is covered by our 365-Day Done Right Promise: if it’s not right, we make it right. Tell me what you’re seeing, and I’ll tell you exactly what it means for your roof.
DIY or Call Us?
Flashing replacement sits in that awkward zone between “looks simple” and “goes wrong quietly.” What an owner can safely do is diagnose: check for lifted metal, look for cracked sealant beads, note where interior stains line up with roof penetrations. What we don’t recommend is pulling up shingles to replace step flashing on your own. Getting the shingle re-bond right, keeping the fastener pattern out of the water path, and matching the Tamko profile all take practice. A flashing job that looks fine from the ground can still leak at the first heavy rain because one nail landed a half-inch from where it should have.
Then there’s the reality of working on a Los Angeles roof in July. Steep pitches, two-story drops, and asphalt surfaces hot enough to cook an egg are not where you want to learn a new skill. If you’ve got a leaking penetration and want it fixed before the next storm, call (424) 766-4937. Erik Lindgren and our crew will come out, measure the existing flashing, and hand you a written estimate. No pressure, no same-day sales pitch, just the numbers and what they mean.
FAQs
Tamko flashing typically lasts 15 to 25 years in the Los Angeles climate, but that lifespan drops noticeably on homes near the coast where salt air accelerates corrosion, or in the Valley where extreme heat breaks down sealant bonds faster. The shingles around it usually fail first, which is why we inspect flashing during every shingle replacement.
Sometimes yes, and we’ll tell you honestly when that’s the case. Small sealant failures at a single corner or a loose fastener can often be addressed without a full replacement. But if the metal is corroded through or the flashing geometry is wrong for the shingle exposure, repairing it is just delaying the inevitable. Call (424) 766-4937 and we’ll give you a straight answer based on what’s actually on your roof.
Most single-penetration flashing replacements take 2 to 4 hours once we’re on site. A full chimney counter-flashing job or a multi-point flashing replacement can run a full day. We’ll give you a clear time window before we start, and we’ll confirm whether your dog needs to stay inside so we can coordinate the door schedule with you.
We stock the common Tamko flashing sizes and profiles on our trucks, including 1½-inch and 2-inch pipe collars, step flashing, and standard counter-flashing. If we need something specific for your roof’s model line, we can source it same week from our Los Angeles suppliers. We’ll let you know before the estimate if there’s any parts lead time involved.
If you’ve got a failed Tamko flashing and you want a straight answer on what it’ll cost to make it right, call (424) 766-4937 to schedule a free estimate. We’ll walk the roof, show you exactly what we’re seeing, and put the price in writing before anything starts. Shoe covers at the door, drop cloths through the hallway, and a photo of the clean-up before we leave.
Written by Erik Lindgren, Owner, Birchbark Roofing at Birchbark Roofing, serving Los Angeles and nearby areas.